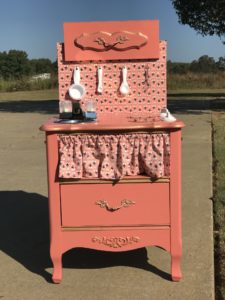
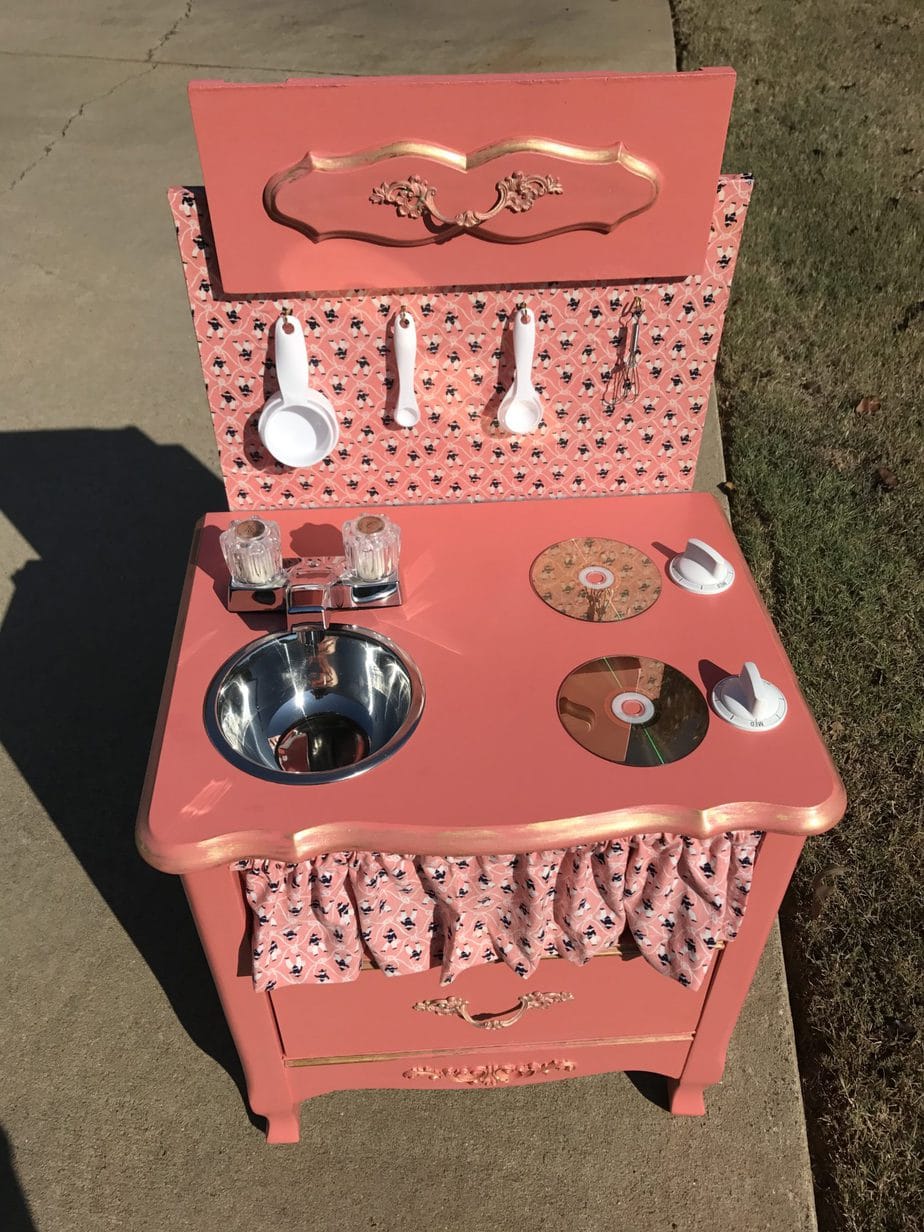
This cutesie, little DIY play kitchen turn out just right! I know that the grand will love it! It’s the perfect size for any play space.
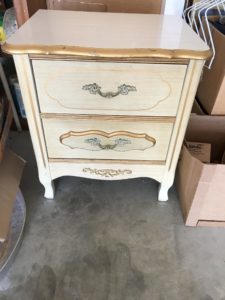
From an outdated nightstand
to a “grand” DIY play kitchen
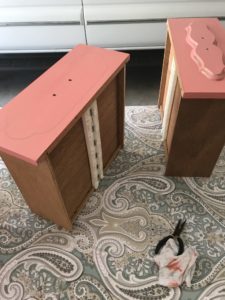
A friend give me a nightstand and I decide my Greer needed a DIY play kitchen for her room at her house. Santa had brought one here and she enjoys it! I figured one at home would be good, too. The color palette I chose to go with – coral, navy & gold, are the colors of her room. I was really hoping her mom would agree with having this addition!

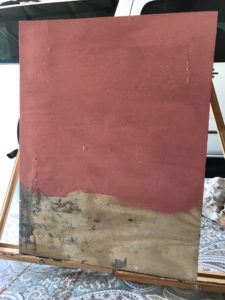
With the finish that is sort of a slick, plastic in some places, I cleaned it a really well and decided to go with a chalk paint. I mixed latex that was off white, with a little red & yellow acrylics to get the color I wanted. Then, I used my homemade chalk paint recipe to get the consistency I like.
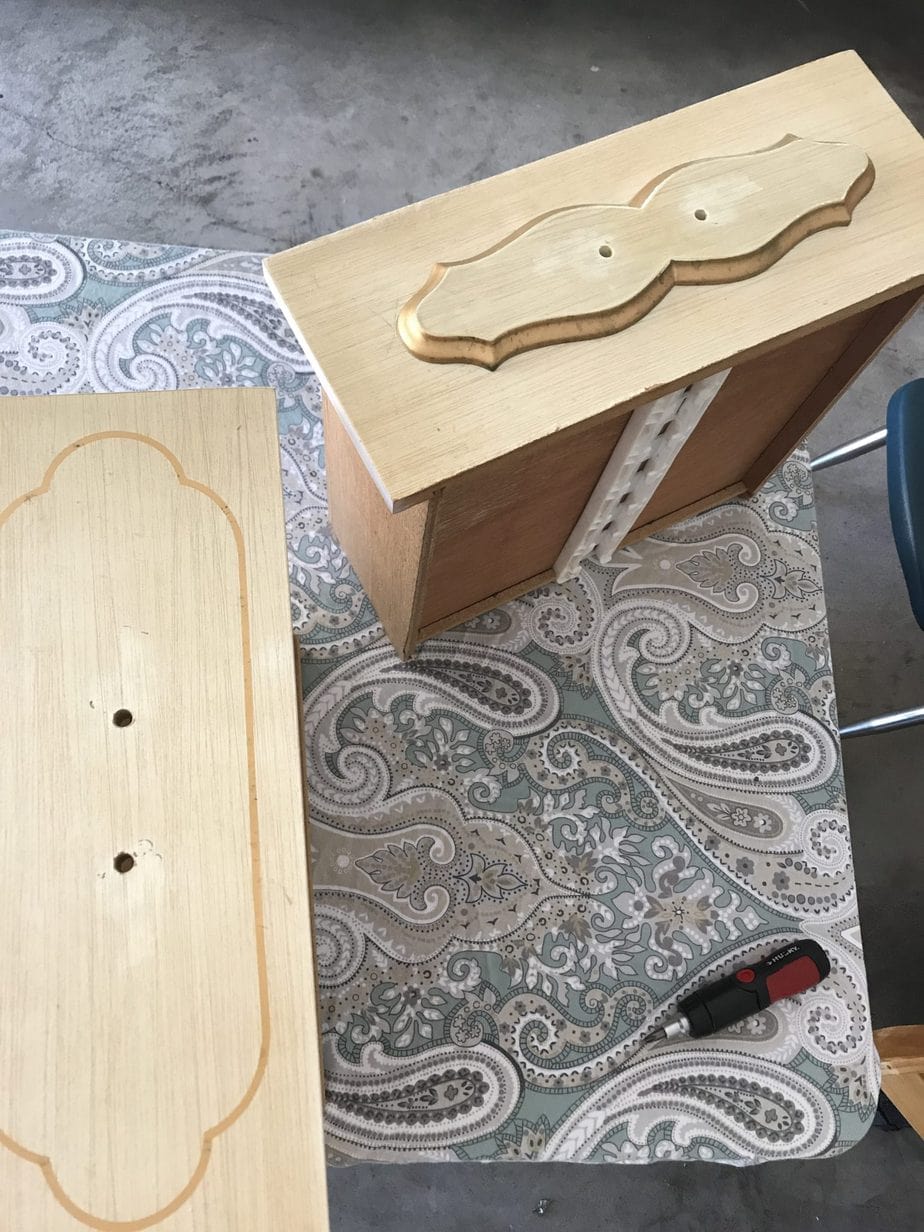
Preparing and assembling the back for the DIY play kitchen
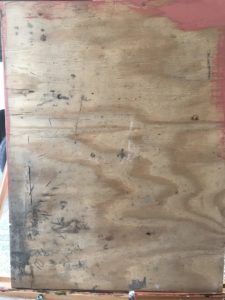
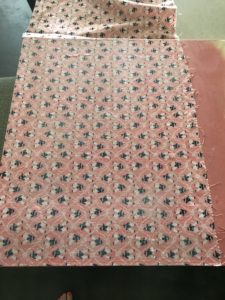
Preparing and assembling the back for the kitchen, after painting the plywood, I applied glue to the top half of the plywood that would be showing. I smoothed out all the wrinkles and air pockets while still damp, but after I had let have some dry time. When it dried, I had used a 1.5″ cheap brush to apply Mod Podge. 2 coats & let it dry completely in between. I used wood bond glue to attach the drawer front to the top.
Final paint details
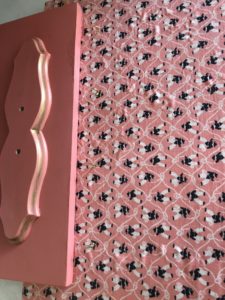
Attention to the final paint details are what made this look like I really wanted it to. I just went back and applied gold acrylic in places by dry brushing. This was done in areas that I wanted to pop or accent by giving a little depth. The handles were going to be added back, so they got a little spiffing up, too. After painting was completed, I finished with two coats of a water based a polyacrylic sealant. It was allowed to dry 24 hours in between each coat.
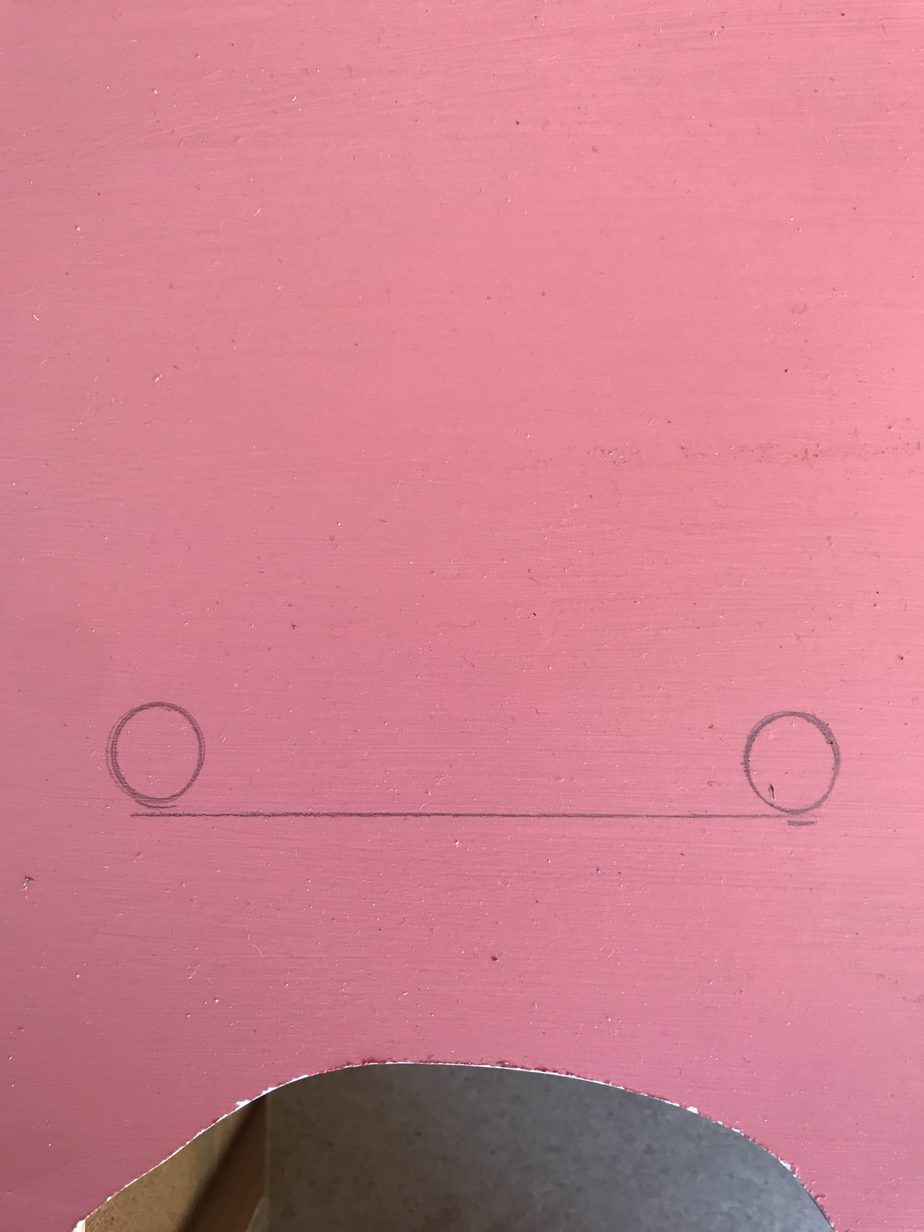
It’s all about the bowl.
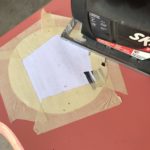
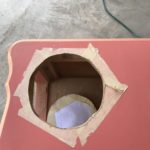
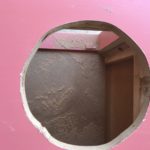
It was all about the bowl, as to how I would design & make everything else fit. The small stainless steel bowl came from Dollar Tree for the sink. I used it to trace the shape I would need to cut, minus a couple of millimeters, due to the lip that would keep it from falling through. Using masking tape keeps the veneer from chipping while sawing. (Be fearless, embrace & love the power tools.) I am new to using a saw like this, so I can cut a circle about as good as I can draw a straight line.? Sure am lucky that this bowl is not a fancy under mount sink?
Now for Fixtures and assembling
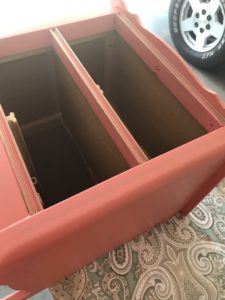
Now, down to just doing fixtures and assembling. Bathroom faucet was bought for less than $11 at Walmart. Measured, traced and drilled out holes for it. Installed it for a perfect little kitchen sink look! But, before we get to all the fine details that made our kitchen outfitted perfectly; I want to go back to how I assembled. Liquid nails was traced down the edges of the plywood, then I put the stand on it for 24 hrs. to set. Next, I drilled holes through plywood into the stand and screwed the two together.
Let’s make DIY play kitchen cute and “authentic”
with the finishing touches
It’s time for the cute, finishing touches. I used a set of old kitchen stove knobs, used screws that would leave them where they would turn. I glued old CD’s on for burner look. Tiny holes were drilled in the back board, then I used tiny screw hooks that would hold the cooking utensils. There was enough material that matched the backboard that a small curtain was made to cover the space where drawer had been. A spring loaded rod was use to hold curtain in place to hide all of her baking dishes.
First time for everything
They say there’s a first time for everything… It was definitely my first time for making a play kitchen. I have built several real kitchens, well, that is with the help of experienced carpenters. They all turned out pretty darn great. This one wasn’t to bad for a first and flying solo. Hopefully this is one to inspire. If I can do it, so can you!!!!
Now, go break something and make it even better!
Trina


This is super cute, Trina! What a fabulous idea!
Thank you! She’s had fun with it.
This is so cute! I love the pink as well.
Thank you! It was fun to do.
This is super cute and fun colors. Very nice DIY project, and I love you repurposed some CDs.
Thank you! It was a really fun flip!
What a fun play kitchen!! Very well done!
How sweet! Thank you!
Impressive handy work! Please publish more of these on social media!
Thank you! I will try! I get behind on that sometimes with all the travel?…..
This is so cute and such a clever idea and would keep the kiddos busy for sure!
Thanks! She stays pretty busy.
Adorable! My girl would love this, especially the cowgirl print. And the CD’s for burners – genius! Thanks so much for sharing!
Awww thank you! Maybe you’ll have a new little project!
This is the cutest DIY!! I wish I had a little girl so I could make one!! LOL Love this!
Awww thank you! The grand has really loved it.