DIY – STRESSED / Distressed Chalk Paint Cabinet Re-birthed was a whole new learning process. I had cause to stress while doing a remodel, I was 8 months pregnant during this time, who knew I was capable of some sound decisions, like not throwing out the kitchen cabinets would give me something later to “distress.” Who knew, LOL!
This Distressed Chalk Paint Cabinet Is Wearing Me Out!
When we remodeled our home in 1999, I just couldn’t bring myself to throw the kitchen cabinets away. They were after all STILL practically brand new (1996). Most of them were able to be used in our laundry room of the remodel.
There were however, a few left to remain in a state of basic cryogenics. But a need finally arose for one of them to be brought forth into the sunlight, cleaned and prepared for life on the wall again! In a new room (guest bath), with a new look.
Confession is good for the soul
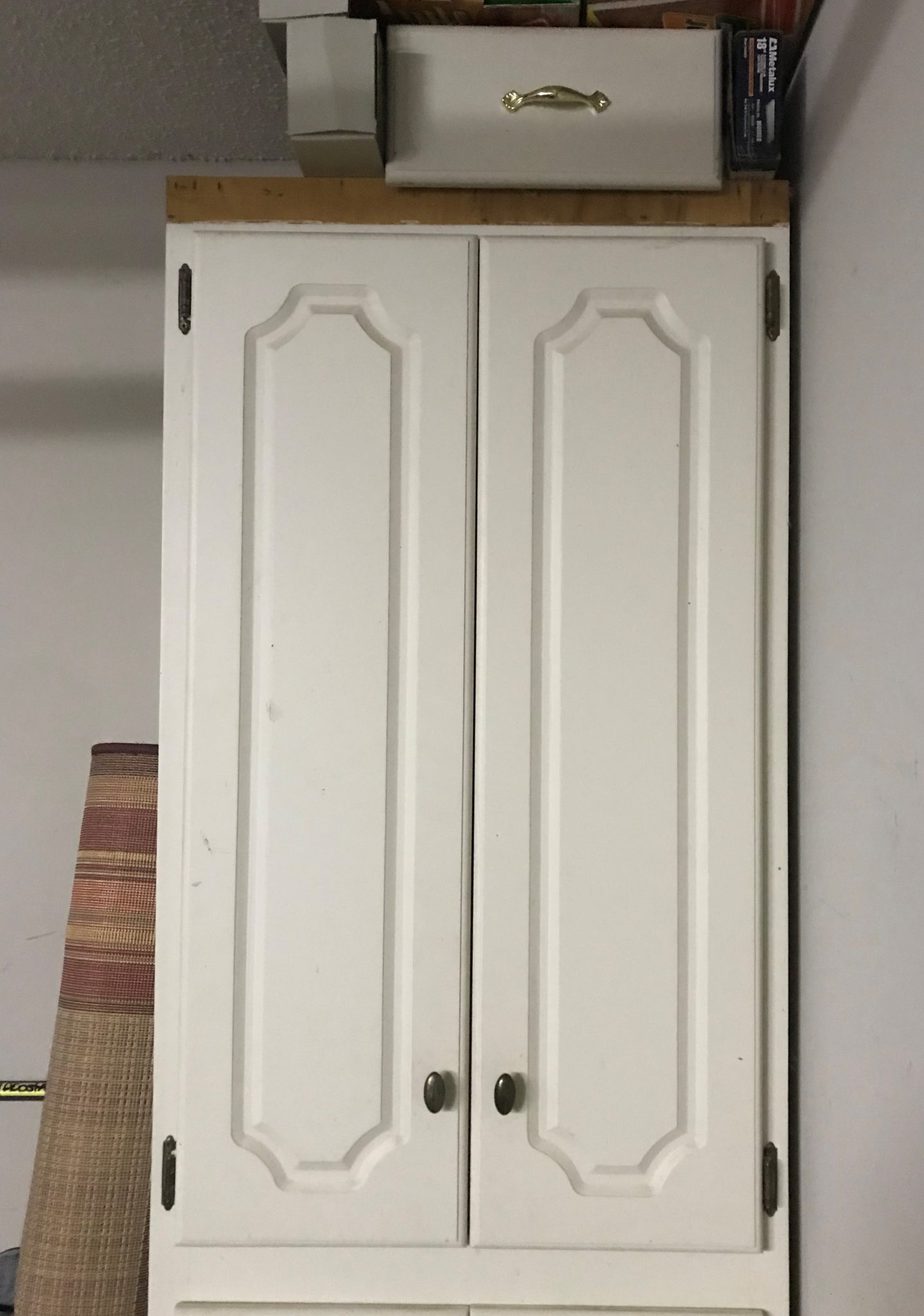
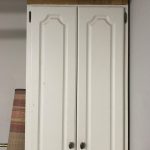
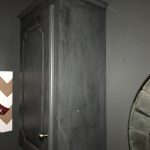
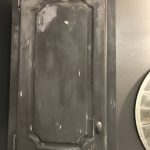
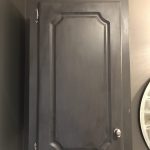
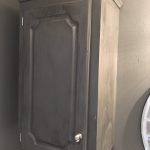
I am going to go ahead and make a huge confession when I redid this cabinet for the bathroom it was in 2016 – took pictures through the steps and process, but going from phone to phone they were left in cyber space history, so the ones you will be seeing don’t have all the steps, sorry… The original 1996 cabinet that has the White Sapphire oil base paint are still in my garage, looking just like it did when I started working on it. Therefore, I snapped a shot of it to give you an idea. (Which I must say the one I used looked quite pristine after cleaning for it to have been in a damp, dark shop for 20 years. So when you wonder about the quality & care of oil based paint……………). I did cut and add a piece of trim at the top to give it a finished look.
Easy Way Out – DIY STRESSED
Distressed Chalk Paint Cabinet
Since they are oil base and I wanted the easy way out….yep you guessed it chalk paint! The DIY kind, too. I’m way too cheap and like color variety that often isn’t offered in most families of branded chalk paints. Besides I am a paint junkie. I shop ALL the mistints at our local Sherwin Williams (hint, hint – a regular $25-40 a gallon of paint usually cost $5.00), so chances are I will “mix” my own color if I don’t have exactly what I want. ( I DO NOT RECOMMEND THIS TO AMATEURS!!!! YOU HAVE TO ALWAYS MAKE SURE THAT YOU HAVE THE RIGHT TYPES (latex – flat, eggshell, low sheen, satin, semi-gloss, gloss and those are just latex….don’t even get me started on oil base, alkyds, in or outdoor…..ect…. You must do your homework, if you wonder down this path) TO MIX AND YOU SHOULD ALWAYS MAKE SURE THAT IF YOU ARE MIXING IT MUST BE MORE THAN YOU WILL POSSIBLY NEED FOR THE PROJECT, BECAUSE CHANCES ARE YOU WILL NEVER MIX THAT EXACT COLOR AGAIN…..EVER!!!!! You can paint some of the color on a 3×5 to have just in case…but also write brand, grade, and type on the other side of the card. That way if there’s an emergency you can carry it to store and have them shoot it with the color gun and they can get really close.
It’s all in the mixing
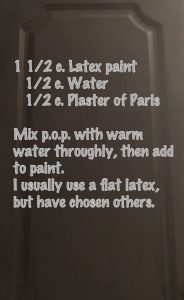
I did however have a color that was speaking to me! Obviously, I would have to use a formula to turn it into chalk paint. I found this one a while back on Pinterest (I have tried many, so I’m not sure exactly who to give credit for it, but I have it save on my iPad in notes without any info…sorry). One thing that I have found to be quite beneficial, if you chose this route, use sift for the plaster of paris, warm water and whisk well before adding them to paint. Don’t stir paint too vigorously. it will add air when blending together with the paint. Bubbles and foam are not good with paint, js.
Distress – less mess – don’t stress
I knew I wanted a break in the dark paint. After I had cleaned the cabinet well, I took a Qtip put a little Vaseline on it and rubbed where I knew I wanted the “distressed” look. I have learned over time that distressing is often easier with great prepping………..
Let’s get it on!
After the first coat it looks messy and not great AT ALL. If your a little OCD get that second coat on ASAP! Chalk paint dries pretty quick, MAKE sure it’s dry before distressing! Hit it with a touch of sandpaper here or there if needed. There are several ways to get the distressed chalk paint cabinet look I want even if you don’t have sandpaper or want “less stress” than sandpaper provides, such as paper sack, magic eraser, old toothbrush, wet rag, one of those green scour pad,or even a wadded up piece of aluminum foil. I have used all of the above at some point. What you choose will all depend on your personal preference.
[ If you struggle with at least mild OCD (only in certain areas & on particular projects) the whole distressing of furniture in any form or fashion is a mountain to climb all by itself. I will tell you though it is worth the climb….it has helped me in many other areas that needed less control.]
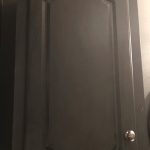
Time for the Second Coat on the
Distressed Chalk Paint Cabinet
The second coat I distressed where I place Vaseline (didn’t use the a Qtip – hence the advice to use one), with oil base being the bottom layer I had more of the gray come off than I wanted, but I lived with it, (FOR THE TIME BEING). There are several ways to get the distressed chalk paint cabinet look I want even if you don’t have sandpaper or want “less stress” than sandpaper provides, such as paper sack, magic eraser, old toothbrush, wet rag, one of those green scour pad,or even a wadded up piece of aluminum foil. I have used all of the above at some point. What you choose will all depend on your personal preference. Lets just say I learned what not to use when working on a surface that has oil based paint. The wet rag would have worked for what I wanted.
Wax away
I do not have the exacts on measurements nor would I EVER recommend you trying this, but I used Minwax furniture wax, scooped out several spoonfuls, put them in a glass jar that I placed in a water bath on stove (low temp) till it slowly melted, then I added a small amount of black enamel paint to tint it. I mixed it really well, then took it off of stove, out of water (DO NOT GET ANY IN THE WAX) and let it cool to firm back up. Then I applied to cabinet, let it set a bit, took old cotton cloth diaper (one of my very favorite accessories when doing anything DIY) and polished – well if that’s what you call it.
Accessories
I also cleaned hardware with water vinegar mixture, rinsed well, let dry, took outside and spray painted with hammered chrome color. After drying, we reassembled it and put it up.
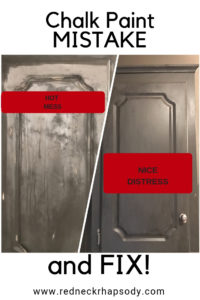
STRESSED…. Over a Serious Mess
WISH THAT WAS THE END OF THIS TALE….. That it was great and looked beautiful for years and…… BUT NNNNNoooooooo…..
Wax on chalk paint furniture should be reapplied every year or so….. Who knew….well, I should’ve, but if it’s not the OCD taking over my brain, it’s big cousin ADD totally kicks in, SO I probably never finished the last half of the directions that tell you this is a must.
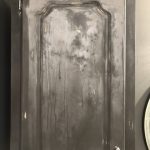
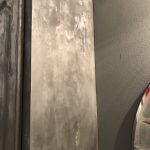
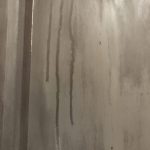
- I would NEVER, ever put a wax finished piece like this in an EXTREMELY humid, hot, not ventilated great area EVER. (Sonsansional tends to shut himself in there for 20-30 minute shower/dress time without opening the door.) The wax began to slowly ooze down the front & side of the cabinet, looking like it came from the set of a horror flick, but it left this terrible shade of light gray chalk matter in it wake.
- I will NEVER, EVER make this mistake again…………..(I hope………….)
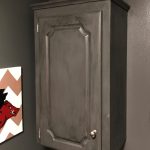
Distressed Chalk Paint Cabinet: Here & Now
So…Fast forward to the present: How ya gonna fix this hot mess? Well, more DIY, fixin & mixin. Decide to leave up. Scraped the big runs of wax off. I used mineral spirits on a clean cloth and wiped it down vigorously. Next, I sanded a little in areas were I was in question of whether there was still to much wax. Wiped it with mineral spirits again – THE ENTIRE CABINET. Applied new coat of chalk paint, same color and mixture that I had used previously.

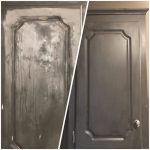
The difference maker
Hope this gives a little help if you happen to have a mess or you want to keep from having one! Have fun and make something you love!
Lean In,
Trina


Wow! what an update! I love changing things up, i have yet to try the plaster of paris to mak emy own chalk paint. I will have to give this a go! Great job Trina!