Hello and welcome to Redneck rhapsody. This is Jenn Summers from The Old Summers Home, coming to you once again. It has been an absolute pleasure to bring you Trina’s latest projects and I have thoroughly enjoyed trying my hand at writing for a different audience and switching things up. Thanks for having me. Now on with the show, the light show of these Beautifully Decorated Lanterns that is!
These lanterns are such a simple and elegant way to add some fall decor into your home. This project is as easy as the Fall Decor Centrepiece we shared a couple of weeks ago!
Decorative Lantern Supplies
- lanterns (check your summer clearance aisles!)
- remote control fairy lights
- fall leafs
- mini pumpkins, gourds and acorns
Purchasing your lanterns!
Right now is the time of year to watch the clearance aisles. Outdoor everything is on its way out to make room for Christmas.
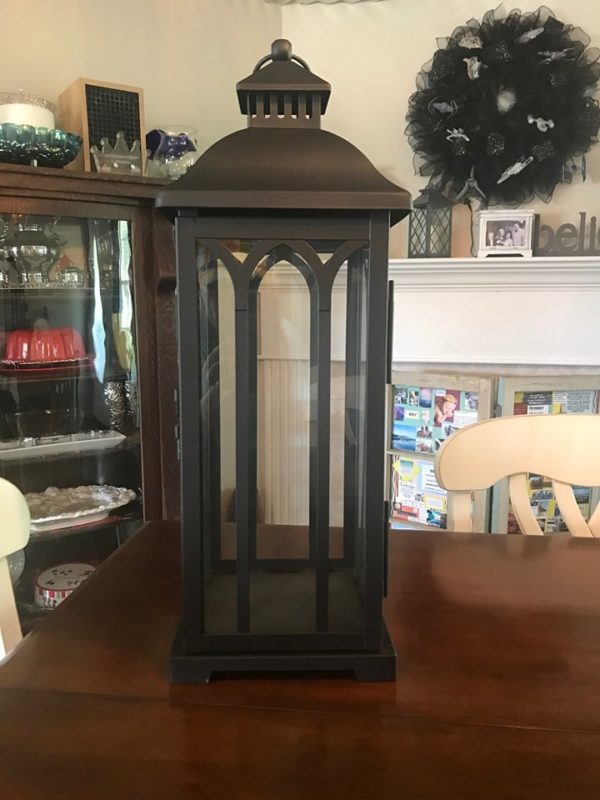
Trina picked up her un-decorated lanterns for 60% off! The lantern was actually knocked down this much because it was missing a candle! This girl is always finding the best deals, I’m not jealous at all haha.
Add light to lantern
The first step is to take your battery pack and place it in the bottom of the lantern. Make sure you test it out before putting it in, nothing worse than dead batteries once you have it all together.
Trina had these lights leftover from her Collectibles Wreath and they work perfectly for these decorated lanterns. These lights change speeds and they run on a remote control, like how cool is that?
Using leaves Trina concealed the battery pack.
Filling the Decorated Lanterns
To start filling the decorated lanterns Trina started with a mini pumpkin on top of the leaf-covered battery pack. She did this in order to ensure that the leaves did not fall off the concealed battery pack. She slowly added a few fall decor items from her stash that was leftover from the Centrepiece project that we shared a few weeks ago. As she added the fall items she slowly worked the lights in and around them, switching back and forth in order to create the perfect balance.
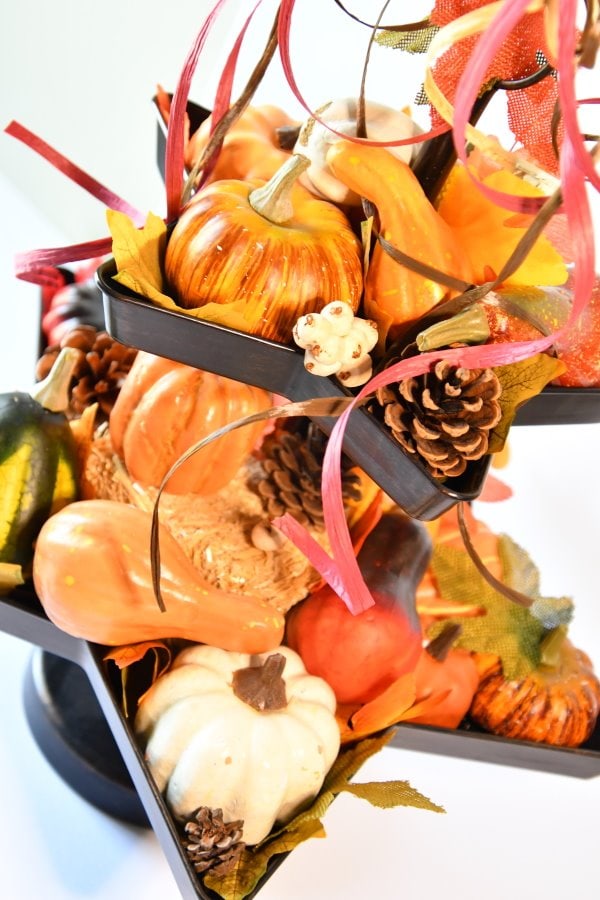
Trina has had this fall decor for over 6 years already!
If you buy right and treat right, even if they are cheap they can have a long life.
Trina- Redneck Rhapsody.
Adding a Bow to the Decorated Lanterns
The ribbon that Trina used for this project was gifted to her from her mother-in-law therefore no added cost to this project for Trina. But you can pick some holiday ribbon up at Michaels for super cheap!
Wired ribbon is key to making a beautiful full bow because it helps to make your bow much more manageable and holds it shape.
Trina has put together a video for you so that you can see how to make two different bows using two different ribbons. Make sure to subscribe to Redneck Rhapsody’s YouTube channel so you don’t miss any of Trina’s videos!
Choose whichever ribbon bow that you like this will give it your own twist. Get creative when choosing your colours textures and patterns so that you can add even more character and personalization!
Attach the bow to the decorated lantern
Now that your bow is made you can attach it to your decorated lantern using either a chenille stem aka pipe cleaner or a zip-tie.
Save it for later!

Show us your decorated lanterns!
We all love to see what you have come up with using our tutorials that we share and we love to hear from our fans! So drop a comment below, or shoot us an email!
Thank you so much for coming to another DIY post by Trina at Redneck Rhapsody. It has been my pleasure to share Trina’s Lanterns, Tablecloth and Centrepiece Posts! Have a blessed fall and craft on!
Until next time;
Jenn Summers
Signing off for Redneck Rhapsody



These lanterns are such a great idea! Saving the pin for later use!