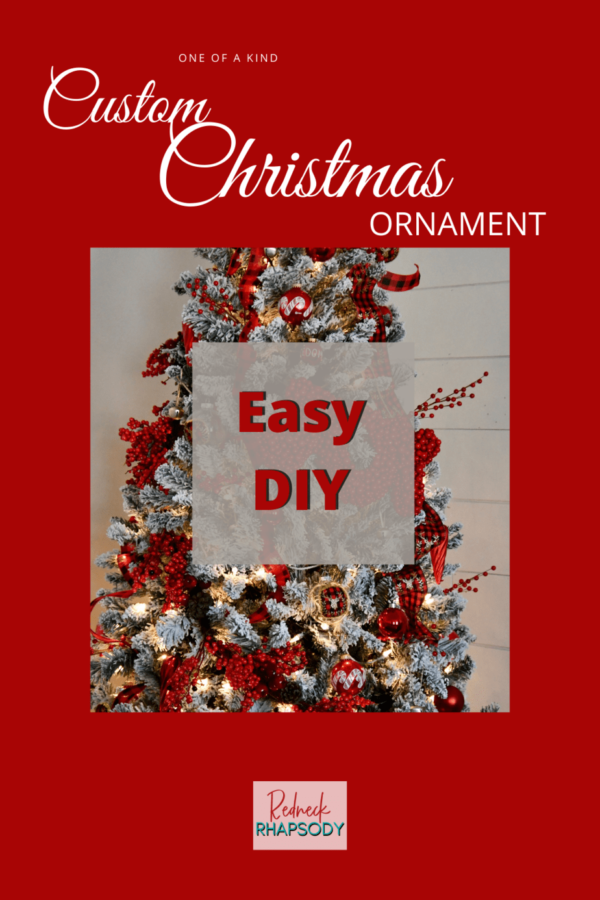
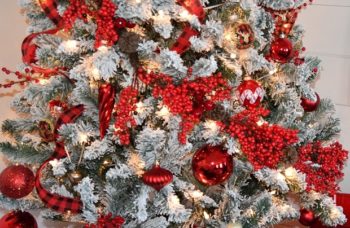
Getting a new flocked tree last year is what inspired this easy, custom, glass ball ornament with ribbon. I’m not using just any ribbon either. I am using a red and black buffalo check that has a gold glitter buck head on it.
Why I Choose to Use a Glass Ball Ornament:
Usually, I shop for next year’s decorations the day after Christmas. I was fortunate enough to run across several packages of clear glass ball ornaments. A couple of years ago. (By the way these are great for a lot of decorating and occasions other than just Christmas.)
- They never go out of style.
- You can paint, glue or dip them in a variety of mediums.
- If you use it in a manner that doesn’t permanently change their appearance, they can be reused for YEARS!
- They are always perfect to keep extra’s of for last minute guests or party’s if you need a gift. Paint pins or a little glue can make it personal or a customized piece in a matter of minutes.
- Having the advantage of being able to use the inside or out just makes me happy. If you know me at all – glitter is from Satan, so when it is locked up but still can sparkle I do get a little pleasure with thinking about it being beautiful without being naughty!
Deciding On How to Decorate Your Easy Custom Glass Ball Ornament:
Okay, yes this may be the hardest part of the whole DIY craft project of decorating a personal, easy, custom glass ball ornament. What direction to go?!?! Crafters I’m talking to you…
“Shall I paint it?” “Would it be better to wrap it in fabric completely?” “I could always glitter it!” “Maybe I’ll just use ribbon – now do I put it on or in it?” “I might be better off to just make a bow for it and glue it at the top with a small adornment or Christmas bauble.”
**Below I will also give a list of all the items that you need to create the look I did.
For This Homemade Easy Custom Glass Ball Ornament I Picked a Buffalo Red and Black Check!
The red and black check wasn’t just any plaid ribbon it has a gold, glitter buck head on it. I could only find one roll, so I treated it with care. I couldn’t afford to waste any of it.
Have ribbon or fabric that matches your tree/theme, but doesn’t have a focal point or design to feature? Just pick a specific shape, like a star, tree, or bell; cut it out of card board then trace it on your chosen material.
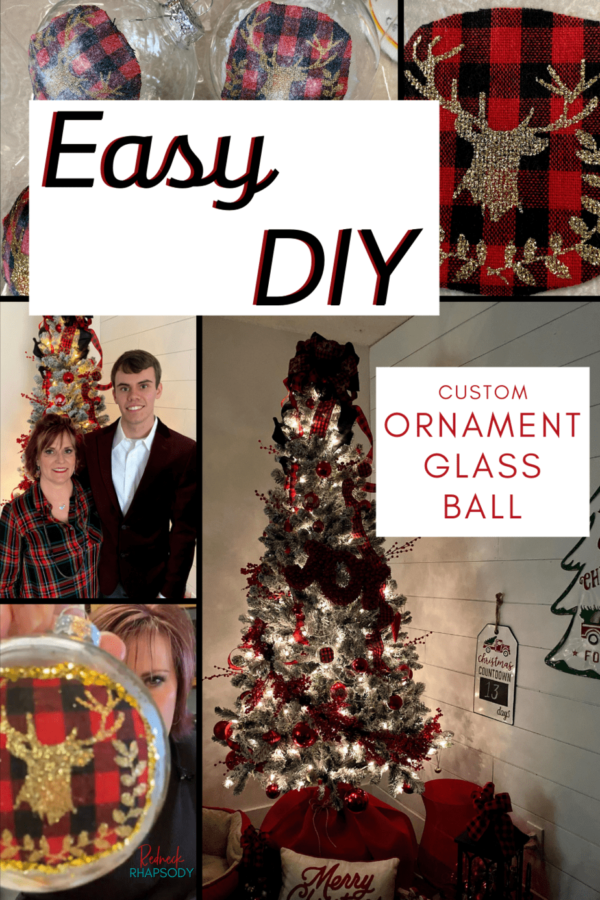
New Flocked Christmas Tree in Need of Easy Custom Ornaments.
A new tree always presents with new opportunities to expand the ever-growing and collecting of Christmas ornaments. However, I will say that before this flocked tree, that I had felt no need for anything buffalo plaid or checked!
But for some reason this tree just spoke to me – “Hey lady I need a little of that buffalo stuff, yeah you know that plaid. I need the black and red. None of that black and white stuff.”
Nothing personal about the black and white buffalo check, my flock just wasn’t feeling it. So I obliged it with a little red, black and hints of gold.
So MANY Directions You Can Take to Make an Easy Custom Glass Ball Ornament – Inside or Out?
You do have the luxury with clear glass ball ornaments of choosing to decorate the inside or the out. I could have made this project SUPER simple by just cutting my ribbon and popping it to the inside of the ball.
My only issues with this was: One getting the buck head centered might have been a little difficult. Second, keeping the ribbon in place so the head would stay centered, and thirdly I didn’t have enough ribbon to have cut in large enough pieces to make it look like I would have wanted it to. I knew with only one roll and wanting you to use it for my bow at the top that I would have to use it sparingly.
I decided to cut around the buck’s head on my ribbon, then to apply it on the outside of the glass ball ornament.
Cutting the Ribbon to Make the Custom Glass Ball Ornament:
Cutting the ribbon did prove to be harder than I thought it would be, because it wanted to unravel a bit. You will have to make sure that those edges are coated well with the modge podge to stop this. The size of it caused the lay on a round ball was a little perplexing, too.
Cleaning the Glass Ball Ornaments –
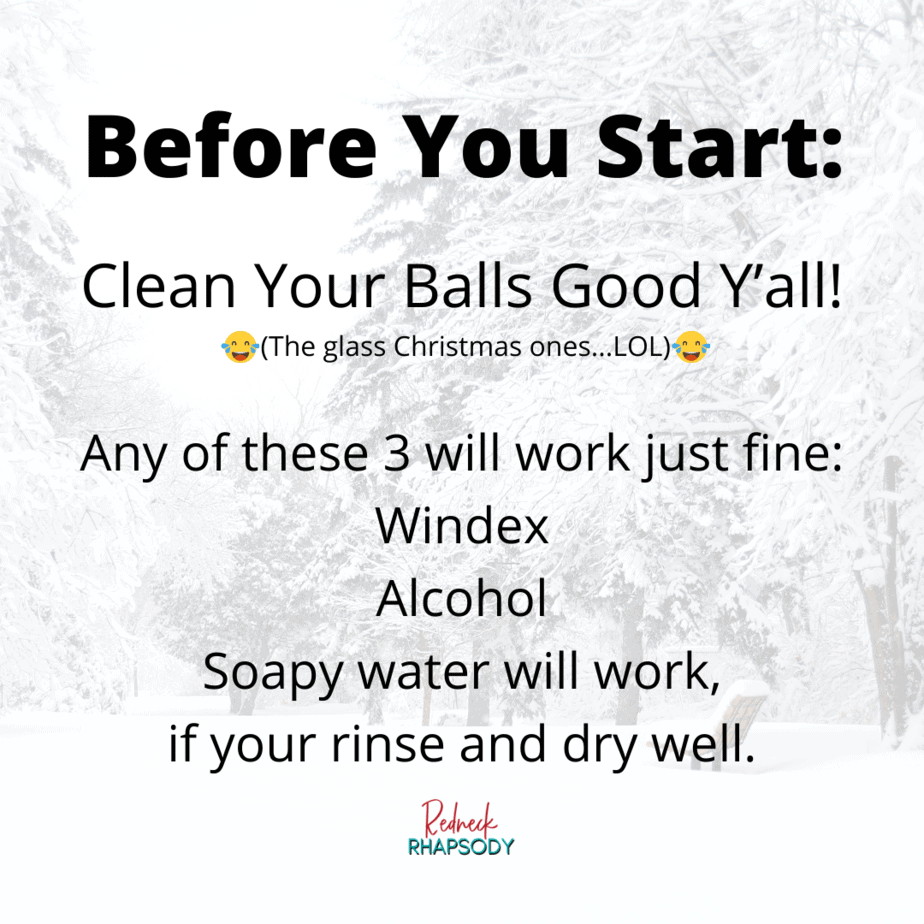
Before I ever started, I cleaned the glass ornaments with a window cleaner. I’m sure that alcohol would work fine. They need to be cleaned before you apply glue or paint. If you don’t, it probably won’t stick. Keep the cleaner handy, you will want to clean a little after you’re finished, because they will have fingerprints.
Should a Glass Ball Ornament Just Not Be Your Thing:
If glass balls are just not you, then I have found a couple of other posts from fellow bloggers that you might find as a fun DIY custom craft to try. This simple wood craft ornament is brought to life with an Easy Buffalo Check material.
Then this custom Double Sided Buffalo Plaid homemade Christmas tree ornament will also fit right into the scheme of things. Who knows you may just want to do something to accompany the glass ones and make all of them.
Putting This Easy Custom Glass Ball Ornament All Together –
You can use a sponge or small craft paint brush to apply the modge podge to the ribbon. Put a dab right on the ball where you want to place your ribbon. I just laid my cut out piece of ribbon on the spot on the glass ball ornament, and held it with my finger as I painted the modge podge over the top of it.
It did want to pucker (well, kinda a lot) a little on the edges, because of the curve of the ball. I smoothed it as it began to set. Then I just let it be, with a slight one. I knew I planned on rimming it in gold glitter at the end, so mine would probably be hidden for the most part.
That is a very difficult thing to ignore and just work around if you are a little OCD/control freak/perfectionist, just saying. It’s an ornament for a Christmas tree with lots of other ornaments, and many other decorations. The ones that bug you don’t have to go on the front of the tree. Yes, I am preaching to myself, but if the shoe fits, I’ll share…
Keep the tray that the ornaments came in handy, so you can lay them in there to dry.
All of the details of this are in this video. If you do better with visual instruction, then you may definitely want to check it out.
Last Official Step to Completing This Easy Red and Black Buffalo Plaid Custom Glass Ball Ornament!
Saving the WORST for last…GLITTER. I LOVE to look at things that sparkle. I even love to wear them, IF they don’t wear on me…which glitter does. So if you get me something that sparkles, I’ll take it in the form of gems!
Glitter y’all!!! Yep, that awful, sticky, growing and multiplying – never dying, glorious gift that just keeps on giving long after the holidays are over. My vacuum can still find it six months later. It is not robot vacuum friendly. You will find the entire house under glitter assault, not just the room with the trees & crafts.
Roll Your Sleeves Up & Get Your Glitter On!!!
After your ribbon is COMPLETELY dry; run a small line of glue around the edge that will allow the glitter to frame it. You are welcome to make your glue line wider, just remember that means more glitter…
If regular glue and glitter perplex you, too. The option of a color or glitter craft glue might be what’s right for you. I will just have a different look.
Hold each glass ball ornament over a paper or mat then shake a generous amount of glitter to cover the glue you applied to the edges. Lay back in the tray for it to dry & set. Afterwards, take it out of the tray and give a gentle shake over paper to let loose glitter fall from it.

Getting All Ready For the Tree!
I used and Xacto knife to scrape access dried Modge Podge, glue & glitter from the area surrounding this applique. Then it will need a proper cleaning.
You will probably need to spray cleaner onto a paper towel and gently wipe your ornament before you add your hook and place on the tree. For an even more custom look add a bow or stem at the top or maybe you would want to use a small ribbon to run through the wire loop instead of using a hook.
I decide to keep mine super easy and classic – no extra adornments. Just a hook and then I popped it on the tree!
Just to mention it again, there are tons of things that you can do with glass ball ornaments for crafts. You may be one who decorates a tree for all seasons. These would look great filled with shamrocks for a March tree, Stars for a 4th of July, etc… I could go on and on.
Get some glass balls that can be bought in bulk if you need a large amount. I use them for filling vases and bowls to decorate throughout the year also. Perfect for weddings, too.
**Items Needed to Make Easy Custom Glass Ball Ornament:
For another look at what a buffalo plaid tree can offer check out this Simple Elegant Country Tree that was featured on Redneck Rhapsody last year in a blog hop.
I will be adding the entire post on what the new flocked tree’s completed look was in a featured post coming soon. Not, to mention having a couple of great ideas for cheap, DIY tree skirts!
See you soon! Happy Christmas Custom Crafting!
P.S. Y’all don’t really think that set there and did all this painting Christmas crafts with glue and glitter without a cocktail or glass of something delicious do you??? You, don’t know me very well if you didn’t guess… YES!
Here are a few favs for the season:
- Southern Redneck Eggnog
- “Loaded” Southern Hot Chocolate
- Southern Deck the Halls
- Southern White Chocolate Chata Café



so cute! never thought of buying decors a day after christmas and use the following year. good tip, on that definitely more sales!
very cute! never thought of buying decors the day after Christmas, I guess I should check that
Glad the idea is one that might help, especially when it involves saving money!
LOL at the before you start instructions 🤣 but in all seriousness these ornaments are SO cute!! I also think glitter just shows up around the holidays, whether you invited it in or not, so might as well embrace it and add some anyway!
Thank you & yes glitter is kinda ghost like it show up by unseen hands…
Love the tip to first clean the balls! I’ll be looking to purchase and save after Christmas for the following year now. Thank you for sharing and for the drinks 🍹 I think it’s time to make one while I do some online shopping 🛍
You’re welcome! Hope that it was tasty and you found what you were looking for!