Steampunk DIY Costume
The decision to do steampunk was mutual among my crew. Noah, is always up for a great costume. I have a love for the steampunk look and incorporate many elements in my everyday style, so I figured it would not be much of a stretch for me to create something great. I did have to take a trip to Hobby Lobby for a few extra pieces to add a little pop, but other than that I had most of the items.
Go big or go home,
so I did 2!

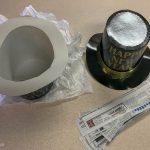
The hats I used as a base for Noah’s outfit were left over NYE party favors. I decided to do two – not knowing which method of transforming them would work the best. A weathered leather look was what I wanted to try to achieve. Basically, I paper mache’d them. Haven’t done that in like 25 years. I broke out my very FAVORITE tool to start with – the iPad and headed to what I believe to be a crafter’s best friend – Pinterest! There I was able to find many looks that I loved. So….I decided to blend several.
Prep Your Work Space!!!
Always cover the surface where you will be working on projects like this with a cheap, plastic, disposable table cloth. I failed to do that on this project and it was a regret! Before you start this project you need to locate a vase, large can of veggies, or something that won’t cause the top of the hat to bow or dip. Make sure it’s tall enough to keep it from touching anything while it dries.
Hat # 1 – Tissue Paper Hat
Recipe: Mod Podge – Homemade

Ingredients:
1 cup of glue
⅓ cup of water
Mix well
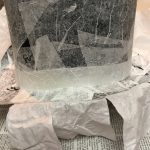
I took at least 10 sheets (will depend on size of sheets) of tissue paper and tore it in strips. The texture of the tears was what I wanted; not so much of a clean cut look from scissors. I only wet the hat in a spot or two to stick the tissue paper to it, then gently applied the tissue, used a paint brush to apply more of the mixture.
Be extremely careful. When the tissue became “too” wet, it would wad up and make a mess, so less was definitely better. I just decided I would have to do 2 – 3 applications, after it dried, completely in between each layer. You have to keep in mind that the cardboard was getting extremely soggy. Shaping the interior to fit your head while it was pliable was very important (this one was damp for long enough that it did not fit very well by the last coat).
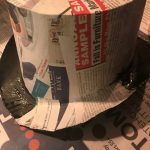
Hat # 2 – Newspaper Hat
Recipe: Paper Mache Paste
Ingredients:
5 Parts Water
1 Part Flour
1-2 T. of Salt

Directions: Put 4 parts water into a pot on the stove and bring it to a boil. While you are waiting for it to boil, mix 1 part flour to 1 part warm water. Let is dissolve & while whisking this mixture briskly to remove lumps. Once your pot of water is boiling, slowly stir in salt (helps to combat mold & mildew) along with water and flour mixture. Mix well and let it boil for 2 – 3 minutes, stirring constantly. Mix to a gooey glue-like consistency. Add more flour and/or water as needed to achieve desired consistency.
You could save for later
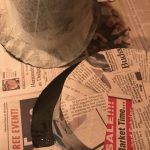
If you make more than you will use in one day, be sure to store excess in the fridge overnight. When ready for reuse, heat and add additional water to thin and smooth if necessary. I cut lots of strips of newspaper and proceeded to dip the strips in the pan / bowl, run them over the edge through your fingers to remove the excess. I only wet one at a time. Careful not to over wet the cardboard. This took 2 applications. I did let it dry completely in between the applications.
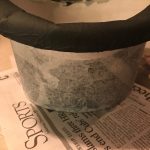
After they both dried the one with the newspaper fit Noah’s head the best, so we chose to make it the focus for his costume. Now on with the work!
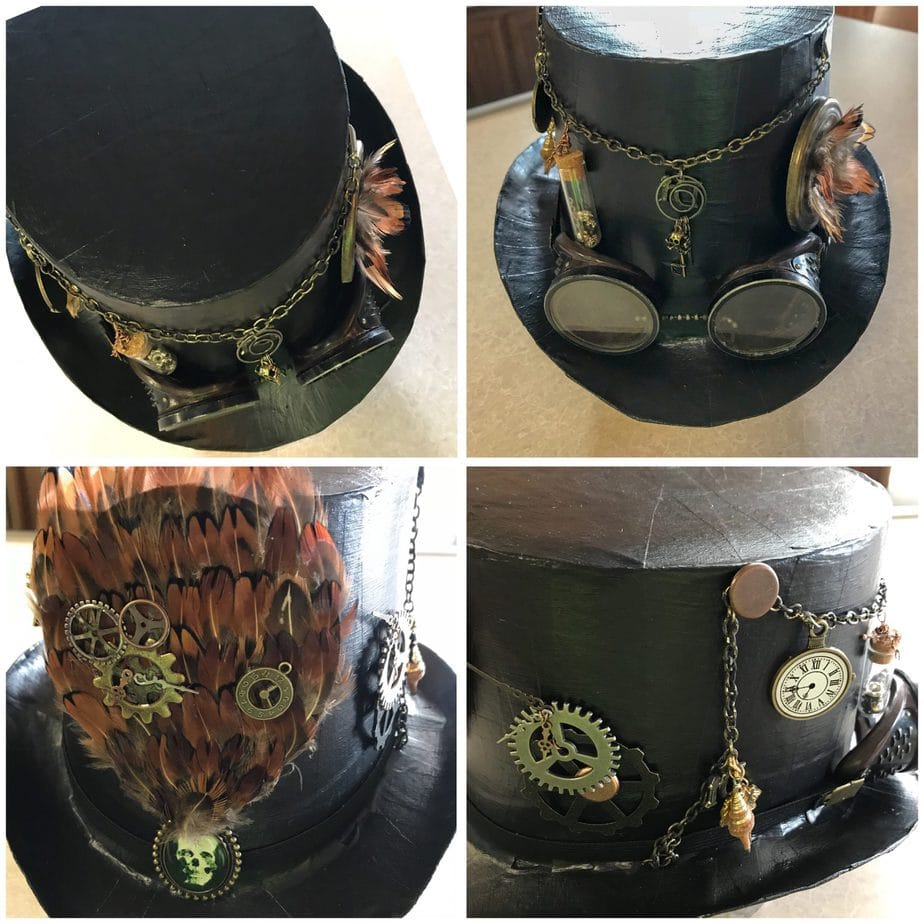
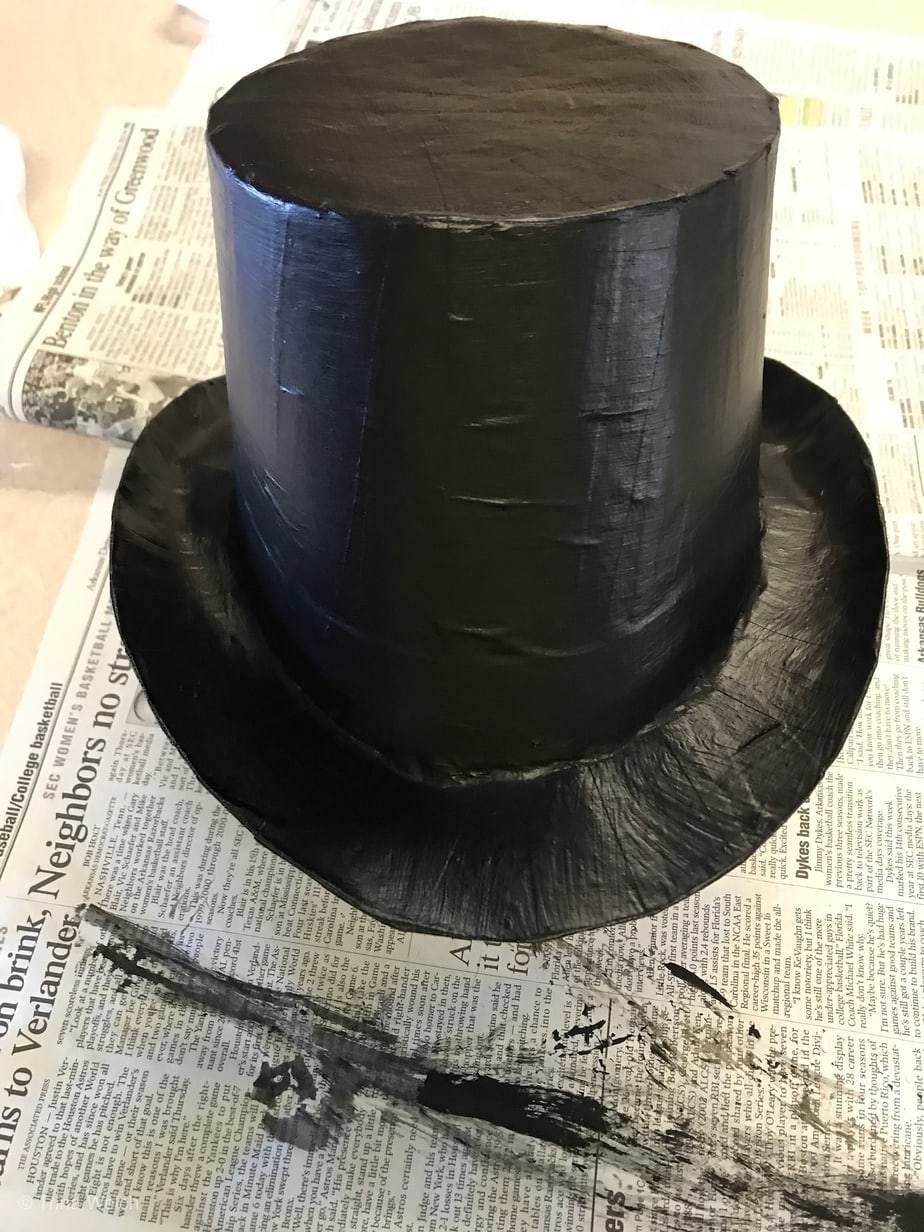
After completely drying, I used a fine sandpaper to take the rough spots off (think I actually did sanding after 1st coat of paint). I then proceeded to paint it with acrylic paints. Black all over for the first and second coat. Brown acrylic with just a drop or two of water to thin it out and just hit certain areas with it to give definition and make it have that leathered look we were shooting for.
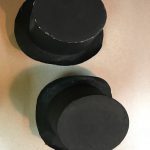
I did not throw hat #1 out…
I may have to use it myself for a different look,
at another time.
Mess is cleaned up!
Yay!!! Now, the fun part starts…
Adding all the bling, dull bling – punk bling!
I really had fun getting into the design lane.
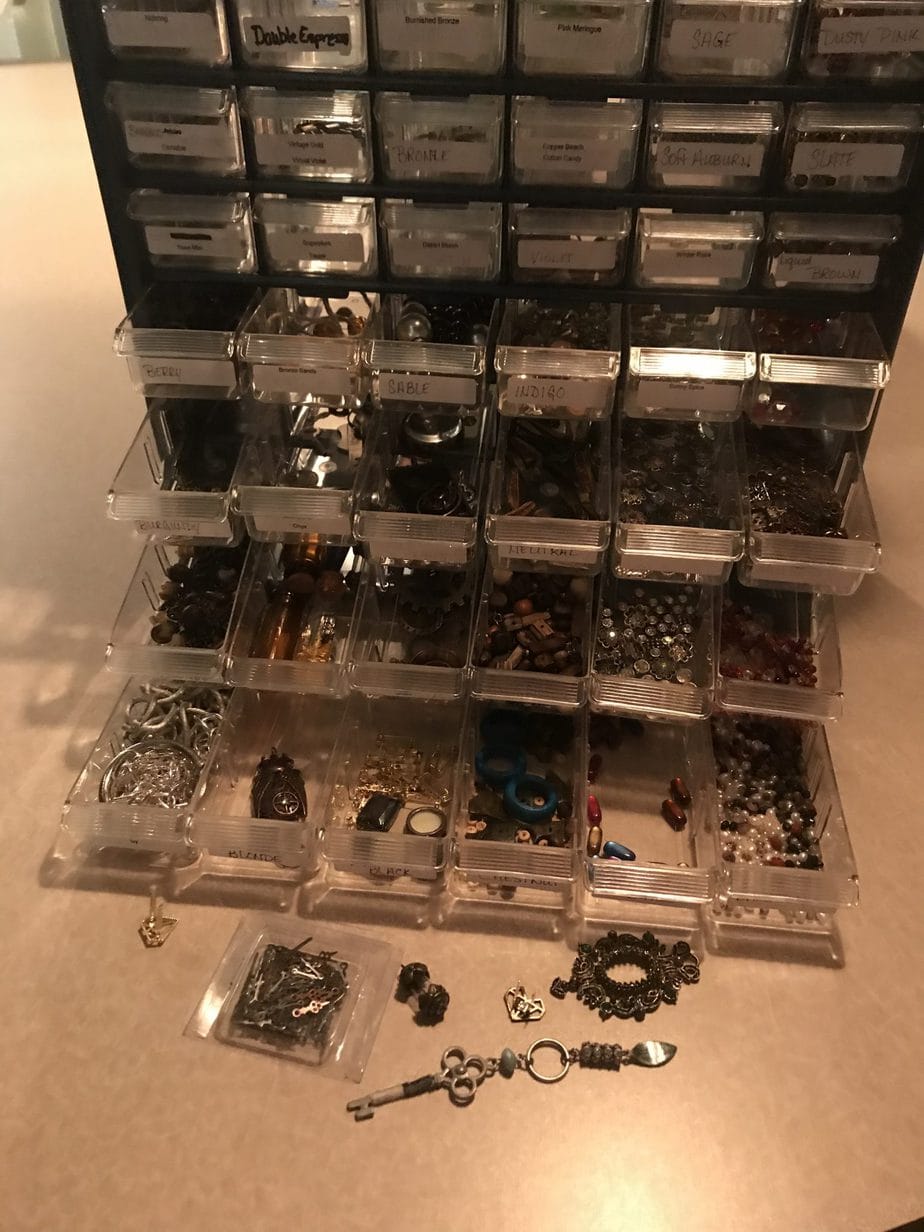
My heart was made to create, it makes me happy! I have to watch myself because this kind of detailed designing, and making things like this can totally consume me. My collection of odd-n-in pieces of jewelry from over the years proved to be valuable, finally.
I knew I had saved all the broken necklaces, bracelets, only “one earring”, leftover buttons, spare parts from different mechanical things for a reason. I just didn’t know what reason, until I started really looking at how to put this type of costume together.
A few pieces had to be purchased
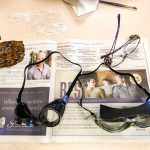
I did pick up a few packs of small items at Hobby Lobby; such as sprockets, clock faces, hands for a clock, a box of mixed embellishments (which included some of my favorite round & square fasteners and some tiny glass apothecary vials. I used brooches, feathers, leather, elastic, welding goggles, swim goggles and several other odds and ends that I had in our shop, closet (closets), and jewelry boxes.
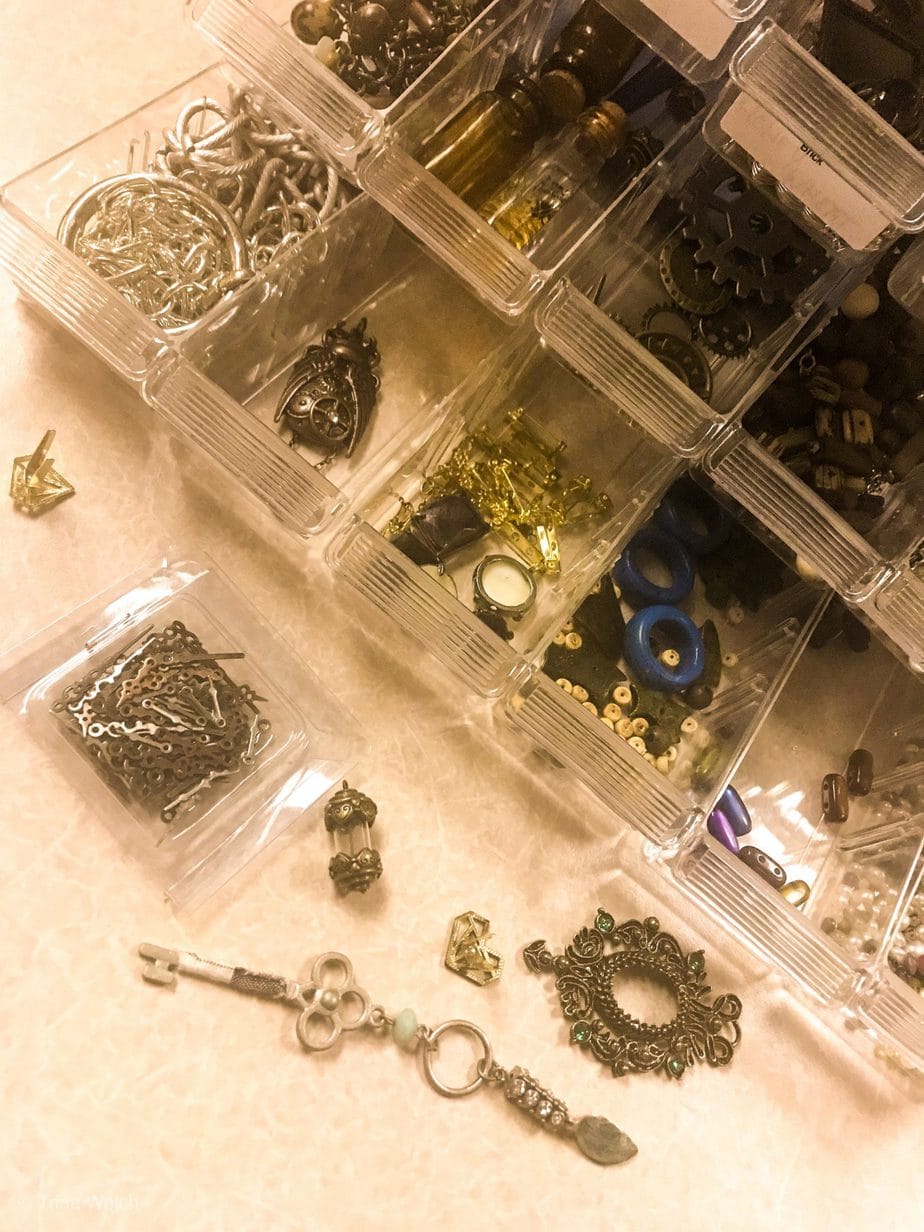
I had extra acrylic paint on hand to touch up things that might need a coat of brass, copper, pewter, silver or gold. For assembling I used E6000, hot glue, needle & thread, spray glue, super glue, mod podge, fasteners, chains, fishing line, pins, and wire. I think I forgot to take a picture of my beautiful “hot mess” of metal and feathers!
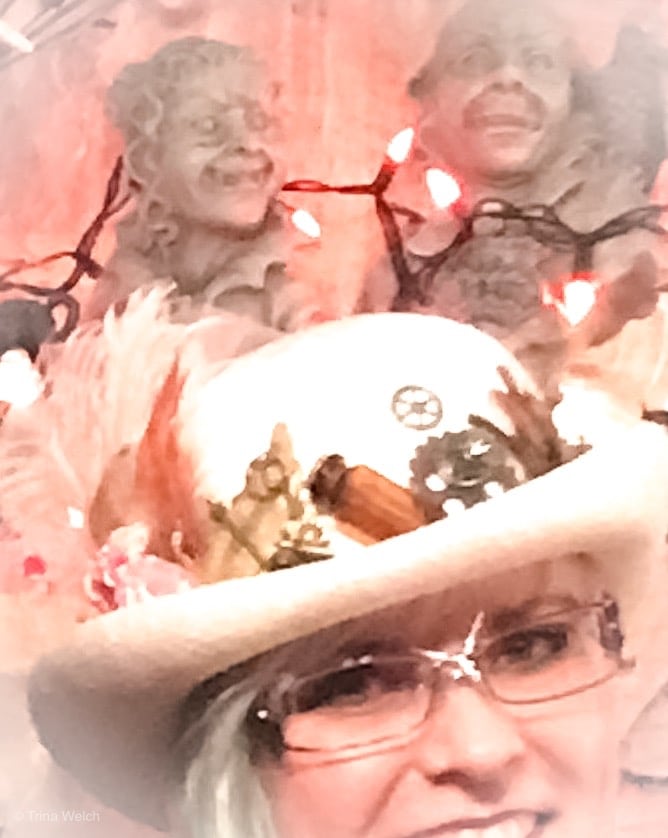
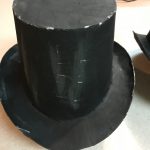
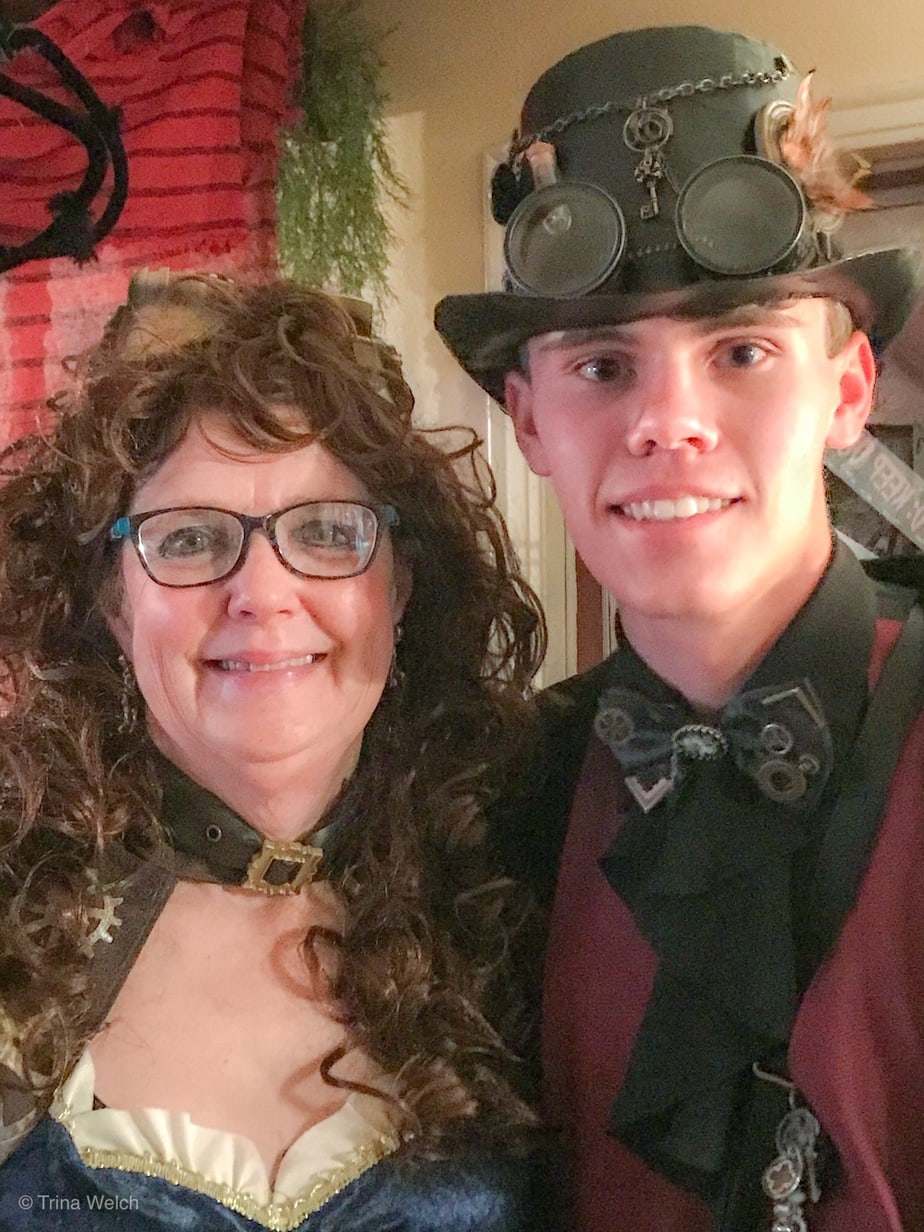
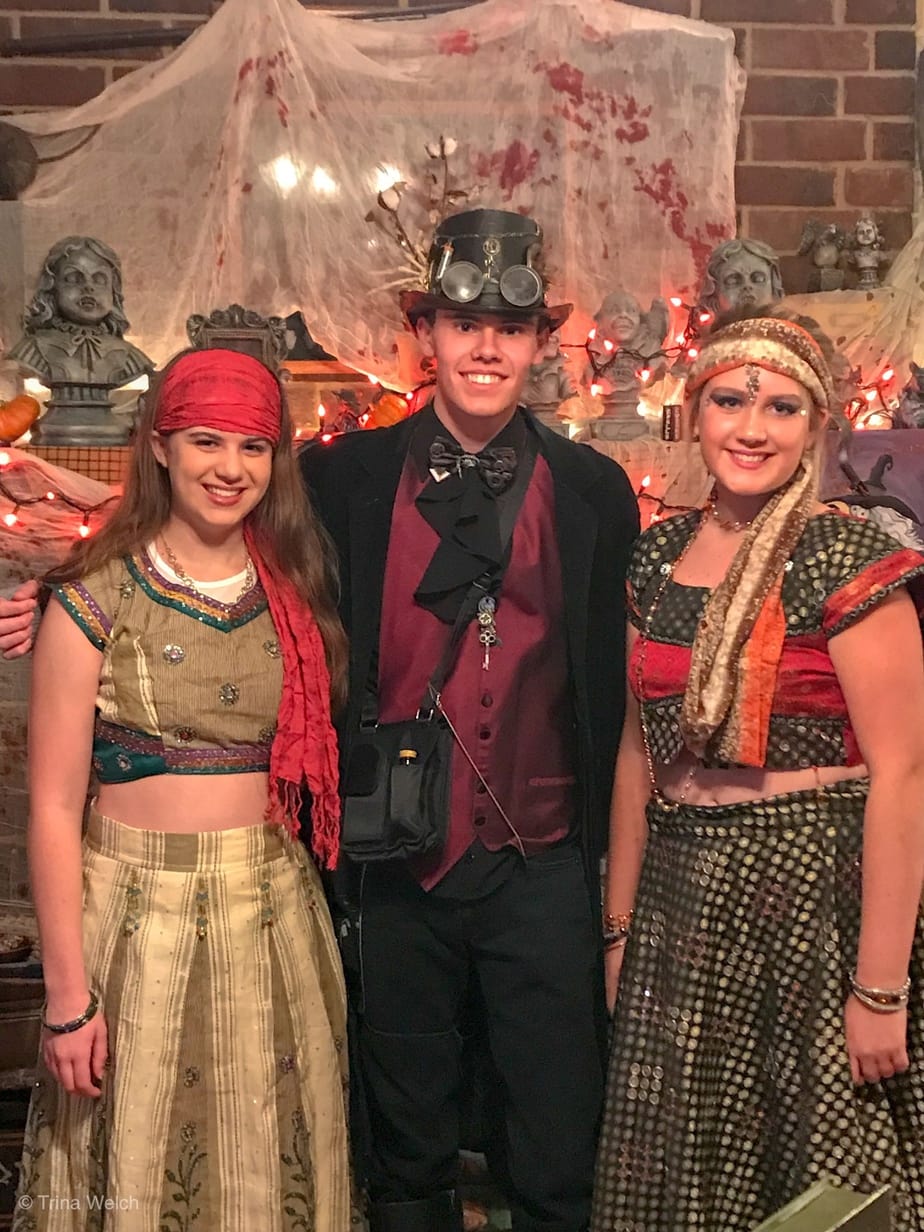
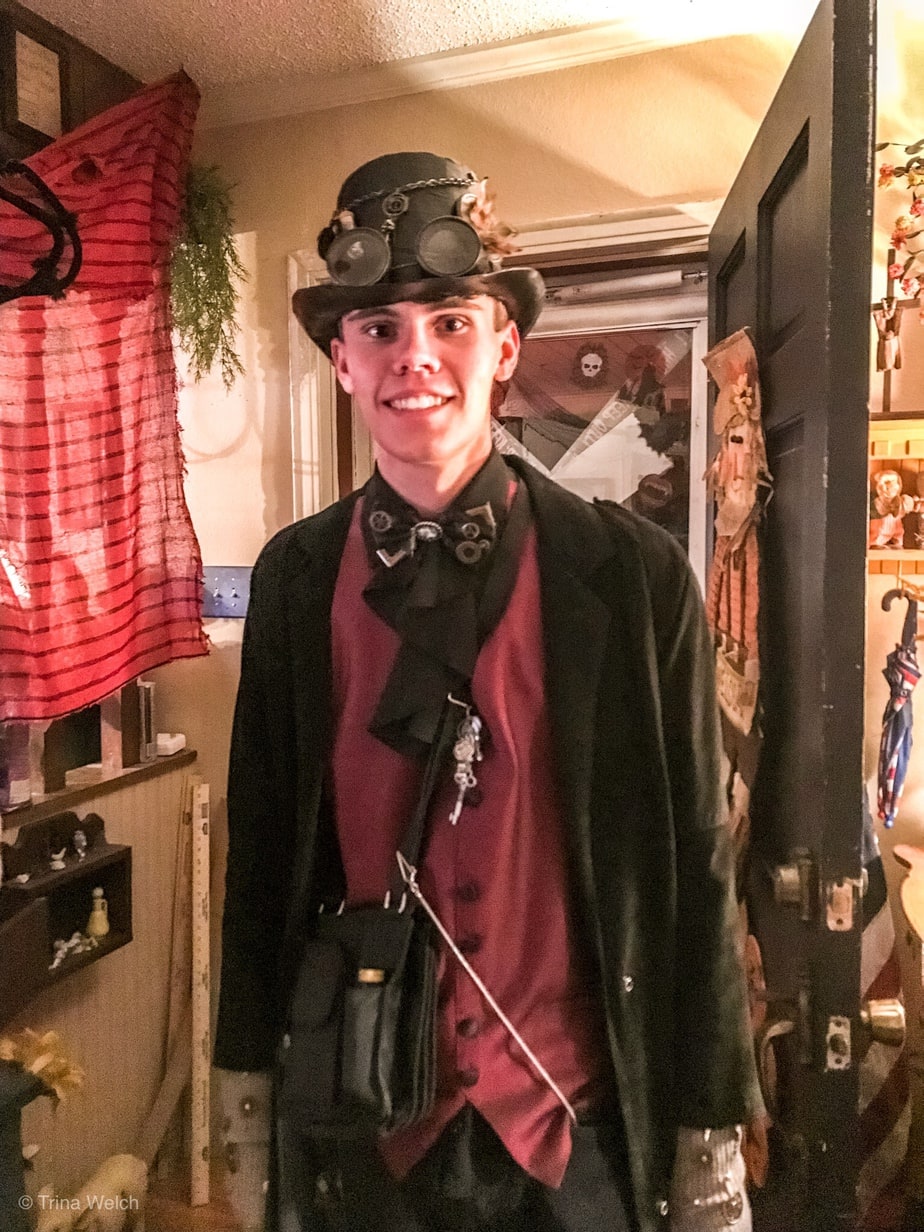
Noah’s hat turned out smashingly, I think. I made Wayne goggles, he went with a very abbreviated steampunk look. He got out of what he put into it…so wasn’t much. LOL! My hat was actually an antique of sorts. I snagged it from my mom’s stash. She wore it when I was a child. The feather was so old I tried not to touch it too much, because it broke / disintegrated when I touched it. I used a gathered bunch of tulle, hot glue and a barrette to hold and attach it to the hat. I added goodies to spice it up and had a great look for very little work.
Let’s get into more details of the Steampunk look, little thins mean a lot!
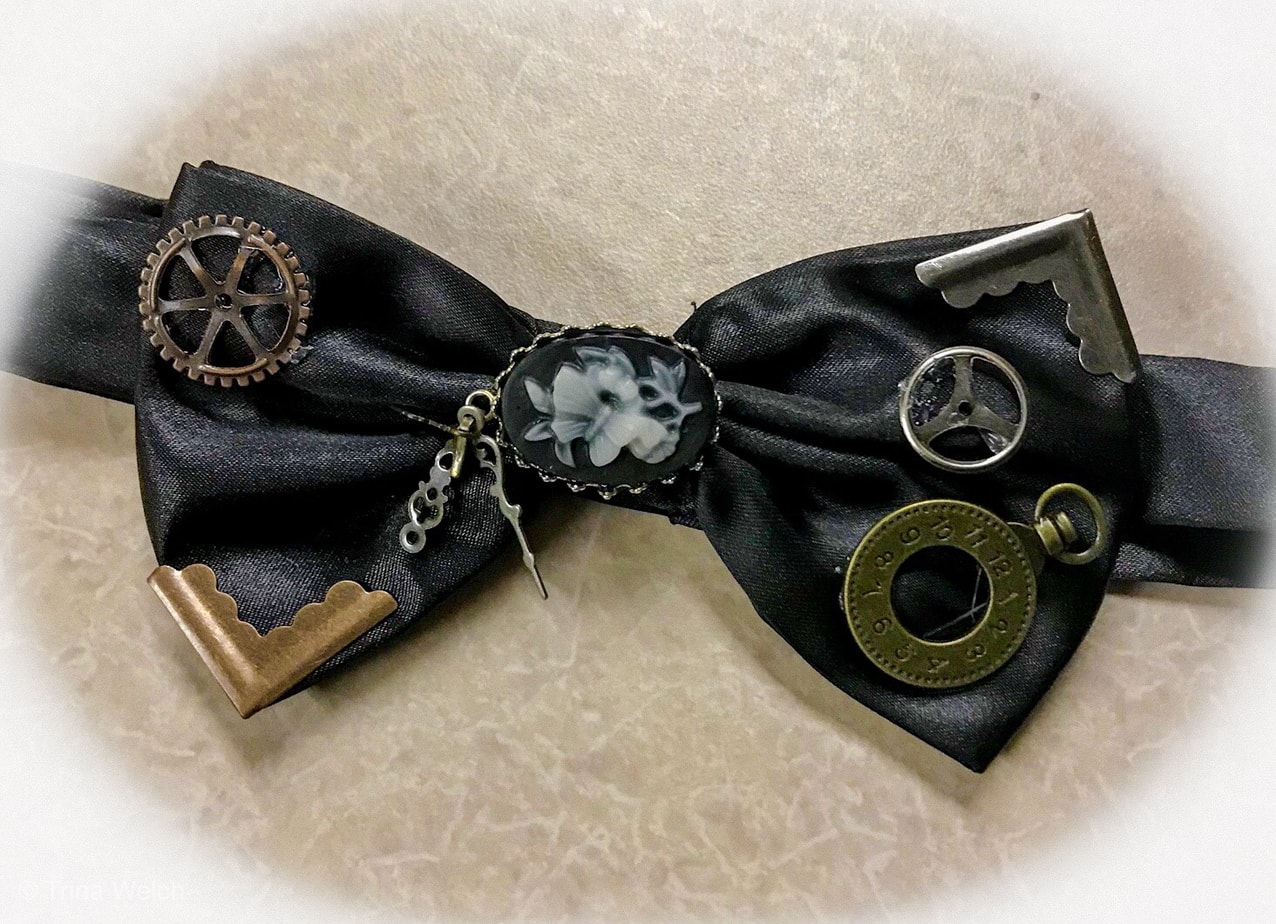

Found the finger-less gloves for .99 cents, added a few things to liven them up. I used fasteners to add everything on them, so I was able to remove it all. They turned out pretty perfect. Noah almost didn’t give them back. I found an extra tux tie that I added a little somethin’, somethin’ to, also. What I regret is that there is not ONE picture of my entire costume. I had a great faux leather diagonal sash that had all kinds of cool gadgets attached. We can’t find a good picture of Noah’s gun either. It was a great water gun that he painted and tricked out.
All in all, I feel that for about $20 bucks, several hours and 3 costumes, 2 parties and 1 Halloween behind us; it was very successful. Have fun and Steampunk safely!
Looking for More DIY Steampunk Ideas?
Should you be looking for a few more ideas about a successful DIY Steampunk costume or different version. How about a DIY Sexy Steampunk Idea?
There is a video below with all the details of making a DIY Steampunk Top Hat from using the base from one of the above hats, too.
Hope you enjoyed my Rhapsodyvilleside of creatin’ somethin’!


This is my first time go to see at here and i am genuinely happy to read everthing at
single place.
Thank you! Glad you enjoyed.
Gah!!!!! I LOVE Steampunk stuff! This is so cool. You did an awesome job with this.
Thank you! Wait till I finally post the ones I did for this last Halloween. You can find them on my FB or IG! I’m kinda a Steam Punk dress/love all the time kinda gal.