Outdoor Dollar DIY Decorations
Outdoor dollar DIY decorations are what we are making for our festive party. We are making garland and orb lanterns. Both of these projects together cost me under $5.00! Win for the wallet!
Orb Outdoor Dollar Decor

I took a page out of Agnes’ book, or at least an idea off of her #2019GardenTour post. She gives excellent directions on what you will need to make this cute orb lantern. I just changed paint, and went with a 4th looking solar light. Using some acrylic instead of just spray paint because I didn’t have all the colors I need in cans. Besides using what I had around the house to make these, they basically cost me $2.00. I was out of wire, so I need that anyway, therefor the cost of it I didn’t add. The hoops were from, my Mamaw’s stash of craft supplies that I inherited a while back. I think I have like 20, so there were enough that I went with 3 hoops on each of my lanterns, clearly I would need red, white and blue, too.
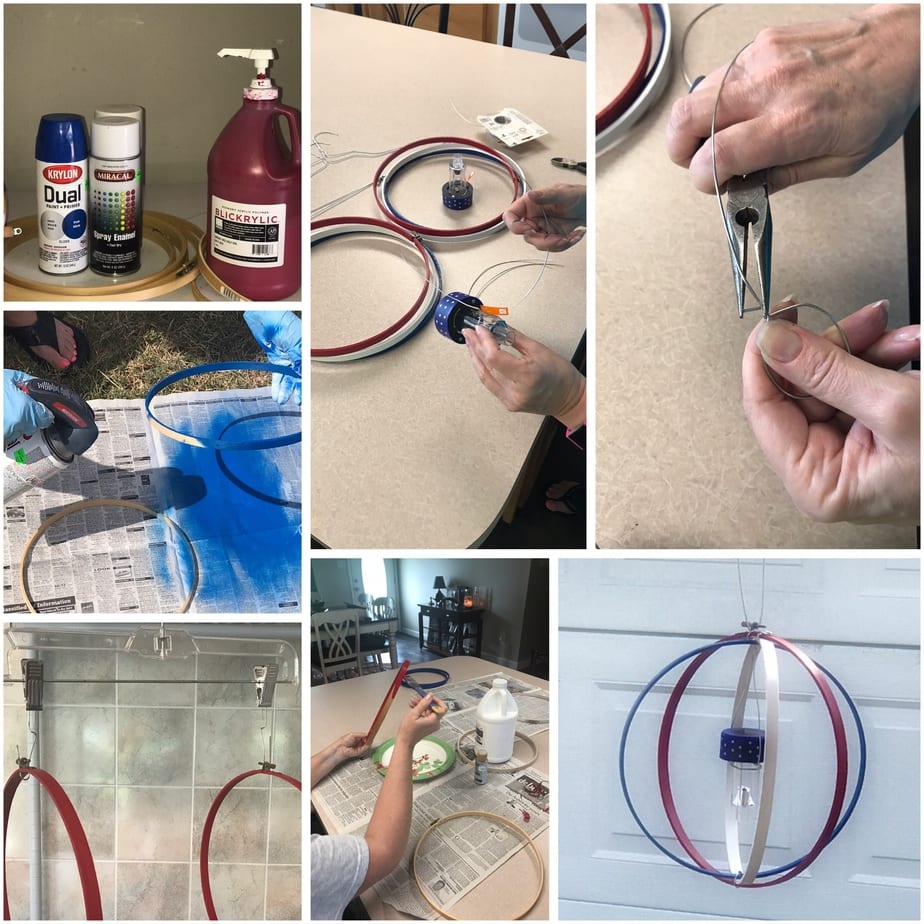
4th of July Outdoor Dollar DIY Decor
Since it’s the 4th next week, I went with the colors of red white and silver for this particular garland strand. Who doesn’t enjoy a little sparkle? Yet, you could choose any color for the theme of what you are celebrating. Let’s say if you were throwing a unicorn party I might choose all pastels. Mermaid party would be shades of blue, green, teal and maybe a few purples. Halloween would be black & orange, or maybe black, silver, purple and green… Guessing you get my drift. Pick the colors accordingly.
Decor win for the recycle bin!
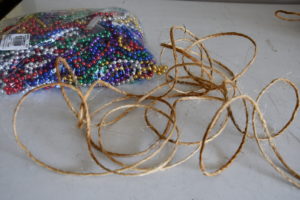
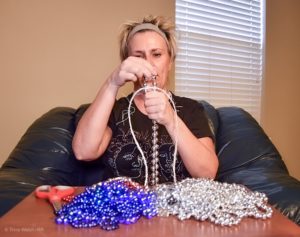
Ever been to Mardi Gras? Well, let me just tell you after a couple of trips to the big easy for a few of the big parades, they accumulate. A lot…. I decide to add a little glamour to our camp this year. Glamping at it’s finest!!! Recycled beads are environmentally & pocket book friendly. If you haven’t been but like the idea of this decoration, you can find them at your local Dollar Tree stores or Party City for us. Beads can be bought in bulk online, also.
Twine Time
Measure out twine the length you need for space you want your decoration to cover or expand across. Allow 12 inches or so on each end for tying or attaching. If you want to have a swag effect you may want to give a little for that.
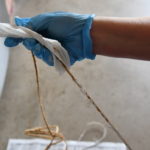

Take beads and make a loop on one side, then feed the other end/ends back through it, pull tight. If you know what length you need, you can cut ahead of time. You may use one string of beads for 3 or so on the “garland.” If you buy the long strands from the store this too will make for adjustment.

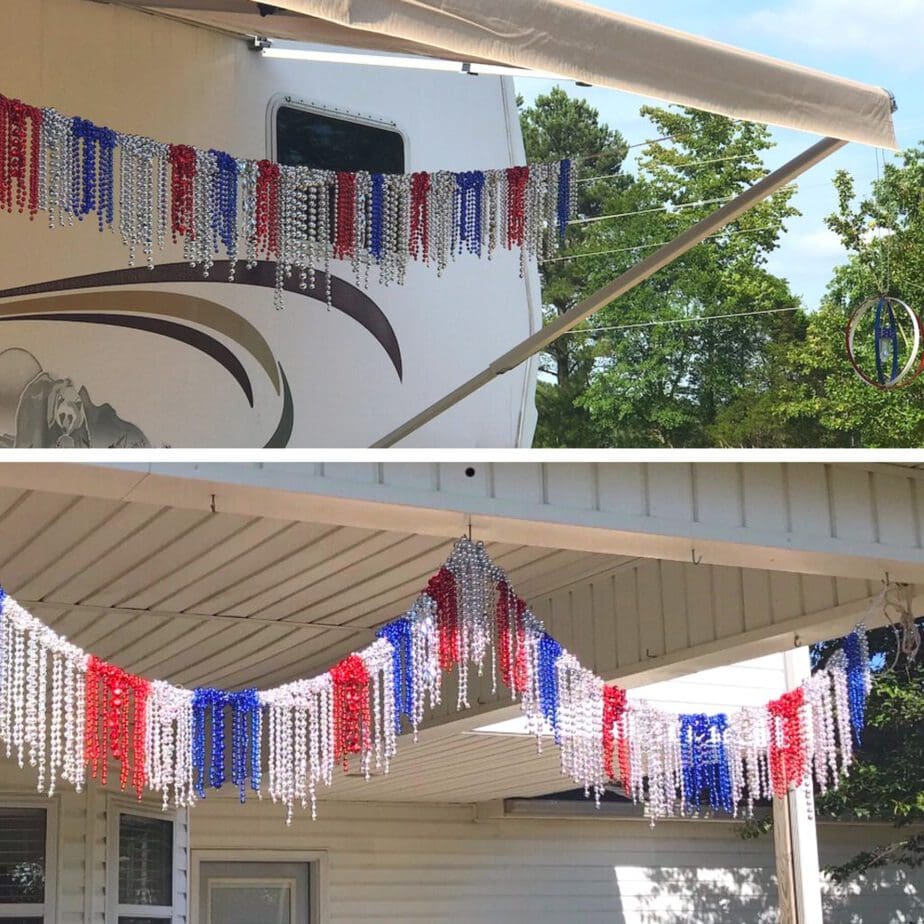
I’m not sure whether I will trim mine to have a chevron pattern, swag look, leave straight across, zigzag or just all various lengths. Mine for this one actually ended up getting left just the way they were, although they look different in the pictures because on the back porch pictures I had hooks, so they look like swags. Unlike the camper photos, you get the effect of the stands just varying by the actual length you cut them.
Garland Variations
Before I skip to some of the nuts & bolts let’s talk how you could do this with variations. This could easily be done with different materials. You could cut strips of actual material probably 1 inch up to 1 1/2″ wide, tulle comes on 6 inch wide spools that works perfect, and bandannas would be super cute, although I would probably cut them, too. All of these items would loop around twine and survive the weather fine.
You could do these in any color, for any occasion.
Outdoor Dollar DIY Decorations:
Let’s Talk Money Spent
Twine – $0.00 Have a huge spool in the shop for projects that we snagged from the grandparents shed.
Beads – $0.00 Caught them all at Mardi Gras (technically the trip did cost a little, but that’s an entirely different blog post).
Paint – $0.00 Had all of the paint left over from other projects.
SO….other than time, effort and a good amount of frustration (which I will get to in a second) this project is relatively easy to make.
Let’s Talk Level Skill/Ease Scale 1 (easy) – 10 (difficult)
Measure & Cutting – 2
Painting (If you have to you make have the right color twine, rope or chain) – 5 (not hard, just messy).
Putting the beads on the twine – 3 / 9 (Putting them on is a breeze….keeping them on is the trick. Firstly, you cannot wallow them around. Secondly, if you do they will loosen and come right off. Thirdly, this will piss you off and you will want to put them all in the trash, JS. I might be speaking from experience…….)
Hanging Them – 4 / 9 (4 if you have help, 9 if you don’t…..good luck, just phone a friend if your single – it will not be worth the issues to even try by yourself.)
Let’s Talk Pro’s vs Con’s
Pro’s
Inexpensive
Look really cute
Great bang for the buck
Not everybody will have that look
Truly resilient in the weather. Particularly if it happens to rain, alternatively through the sun will fade and bake them. Therefore, I would not leave them up for an extended amount of time, unless you’re good with that.
Super easy project for the most part
Con’s
Takes a real investment on time – painting twine, cutting beads, looping them…..
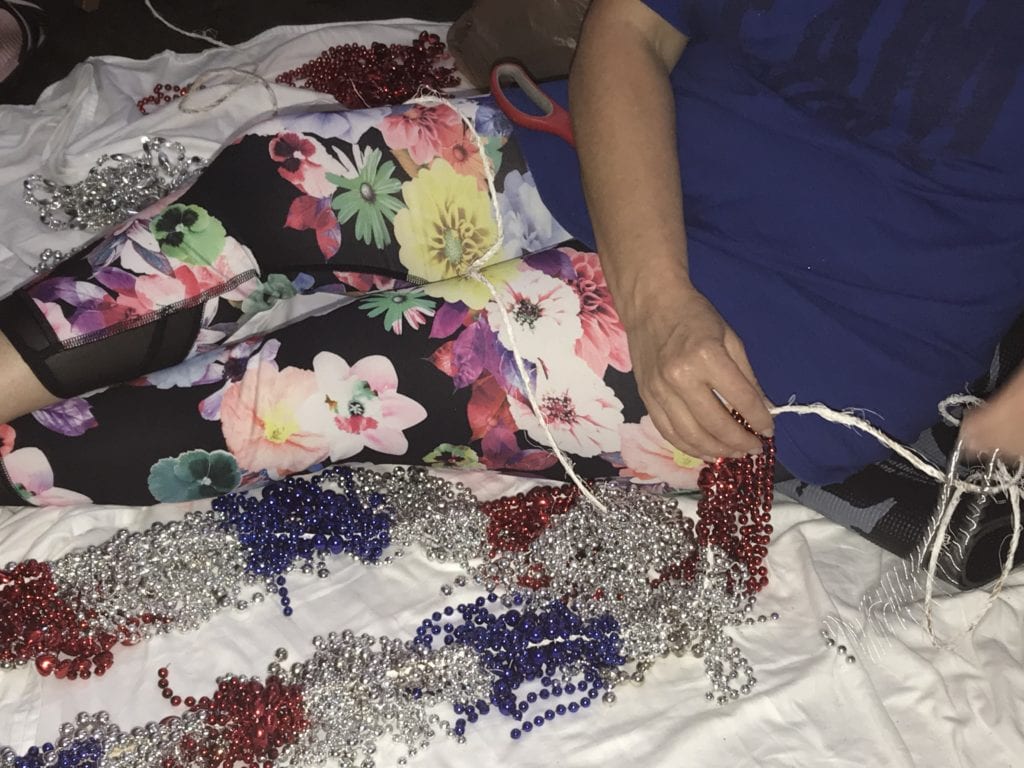
Your hands will get grimy, so will where you are assembling them (I used a sheet over my floor)
Without a doubt, if you move the twine much after beginning the assembly process you will cause it to self destruct.
It is HEAVY. I decided not to go near as long as I planned in the beginning, due to the weight it would place on the canopy of the camper. Clearly, I would have made a bigger statement at the campground if mine would have stretched the entire 20ft. of the awning.
Outdoor Dollar DIY Decorations for any occasion
In conclusion, this is a great little DIY that has a ton of flexibility. You can choose different mediums, colors, size, and structure. I hope you have fun making your own strands for a party of your liking without it breaking the bank! Can you believe that these 2 projects cost me less than $10.00. In all actuality, only $2.18 for the solar light for orbs. I had to by wire that I was out of, which was $5. I will suggest taking your time, enjoy a cocktail or two and plan on having a bright, beautiful, festive outdoor DIY decor kinda day!
Have a fun, little R & R experience and then share it with us! Let me know in the comments below if you have ever made either of these or if you are going to. What colors did you choose? Are they for the campsite, a party or just for adding a little something to the back porch?
Be blessed,
Trina


Love your version!! Thanks you for your mention!
Well if you get a chance to checkout the new post today I linked back to ya! Thank you for the amazing idea!!!