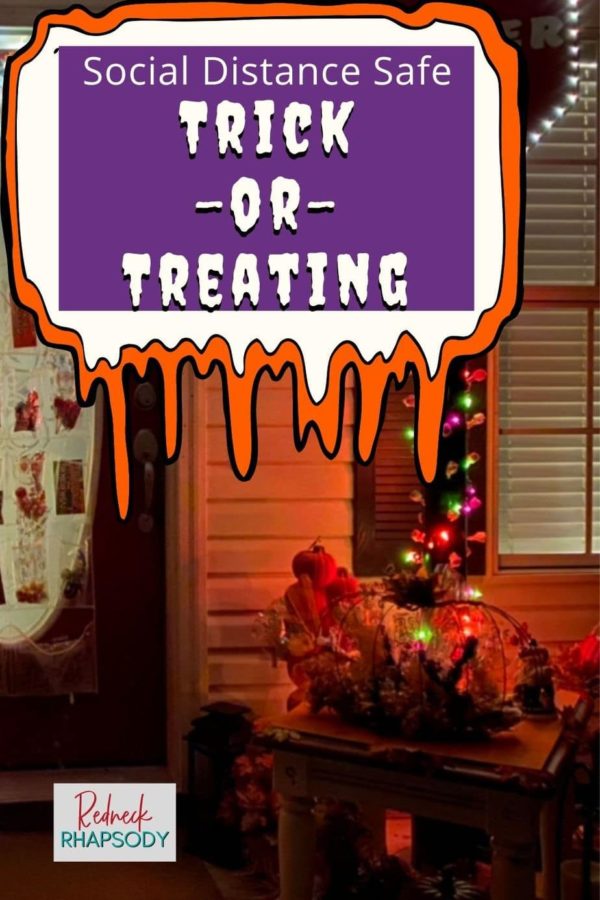
This Halloween DIY Dollar Tree Pumpkin is perfect for Trick or Treating 2020. Especially if you are looking for ways to Trick or Treat this year that offer a social distancing safe factor! This fun little project took less than two hours (for a normal person) to actually make, if you didn’t have to allow for dry times.
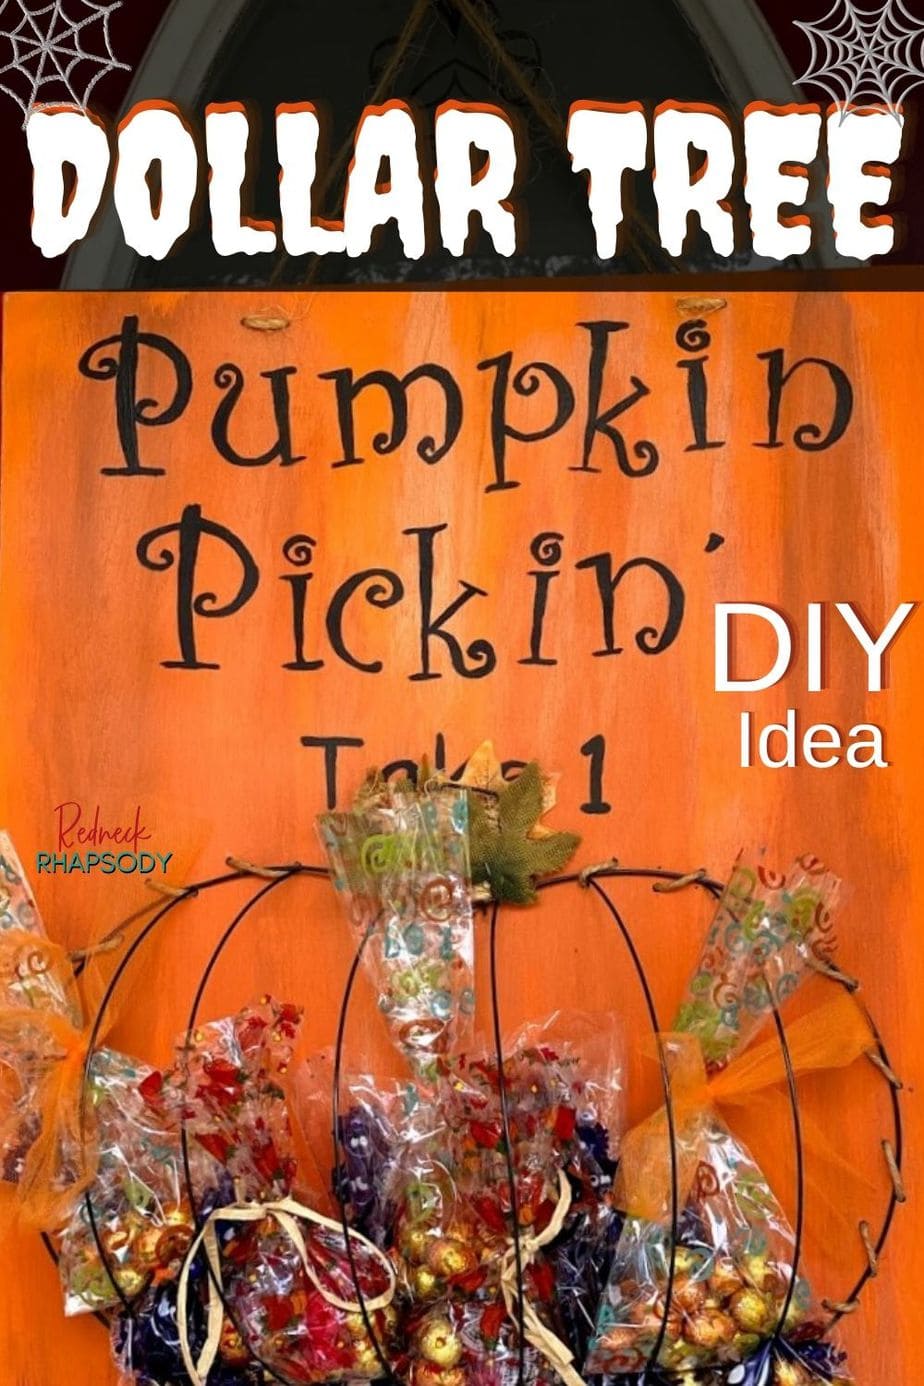
Halloween DIY Dollar Tree Pumpkin: Two Ideas for One Project
I am going to show you two ways to use this DIY Dollar Tree Pumpkin. You can choose the project to make a door hanger or it can work equally well for displaying on a table if you prefer.
Halloween List of items you will need for this project:
- Halloween/Fall Décor of choice – Wire Pumpkin Frames
- Thin plywood: Cut 24” x 20”
- Suckers or Other Lightweight Candy
- Treats
- Treat bags
- Chenille Stems or Pipe Cleaners / Zip Ties
- Pliers/Wire Cutters – Possibly – This is a good set, not cheapo’s.
- Cricut: How I Make Stencils for Letters
- Contact Paper
- Acrylic Paints
- Sandpaper: 150 grit (assorted pack)
- Paint Brushes – Your preference
- Scissors
- Hot Glue Gun
- Spanish Moss
- Optional – lights, floral stems or other
- Spray Paint (optional)
- Glad Press-n-Seal
- Ribbon (optional)
Time to Talk Pumpkins!
I picked up not just one, but two of these wire pumpkins. I will only need one for the door hanger version (2), but we will be using both for the tabletop version (1).
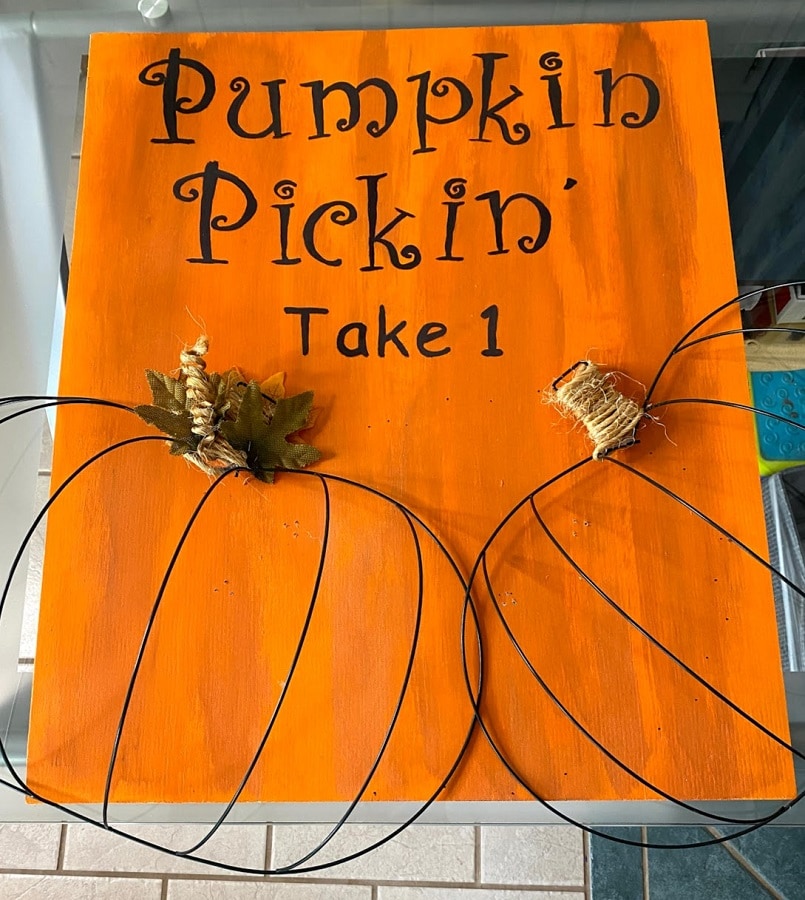
Back or Bottom Board for Your DIY Dollar Tree Pumpkin Project
I went to the local home supply store. Usually, they will cut your board for you at the size you need if you don’t have the equipment for this. I picked the thinnest piece of plywood that was available. It needed to be sturdy, but not too heavy.
After cutting to the board to the size I wanted, which ended up being 24″x20″. I sanded the edges slightly. There are several ways that you can do this.
I used the concrete on our driveway. You can see this on my video. If I were using sandpaper, I would have picked 150 grit. The edges are all that should require sanding.

Now for Picking Out the Paint for the Background to the DIY Dollar Tree Pumpkin Pickin’ Project!
I used a spray paint (Terra Cotta) for the base coat. This would be fine on its own, if you use the color that you want for the background for your entire project. For my “Pumpkin Pickin’” project I wanted to take it a little further by using acrylics to add a variation with color for more detail.
The acrylics were from the craft supply section of a local store and art supply company. I used several colors: orange, espresso, and brown. Black acrylic paint is what I picked for the letters that I stenciled on at the top. Speaking about stencils…
Let’s Talk Lettering:
There are a ton of ways that you can add letters/words to this sign. Maybe you don’t want any at all. If you do want to add something, like I did, I used my Cricut to cut out a stencil of the letters that I would need. I traced them with a pencil, then painted.
What Do You Want to Do to Fancy Your DIY Dollar Tree Pumpkin Up?
I’m only using one of the ½ half wire pumpkin forms from Dollar Tree pumpkin for version 2 of a pumpkin that delivers the treats. For both versions I am choosing to use very little decoration on the frame itself.
I’m taking a bit of the twine rope and going to wrap the stem. Using my hot glue gun I will keep it in place. I also wanted a curly cue for the stem. Then I lightly wet a piece of twine. I wrapped it tightly around a cheap ink pen.
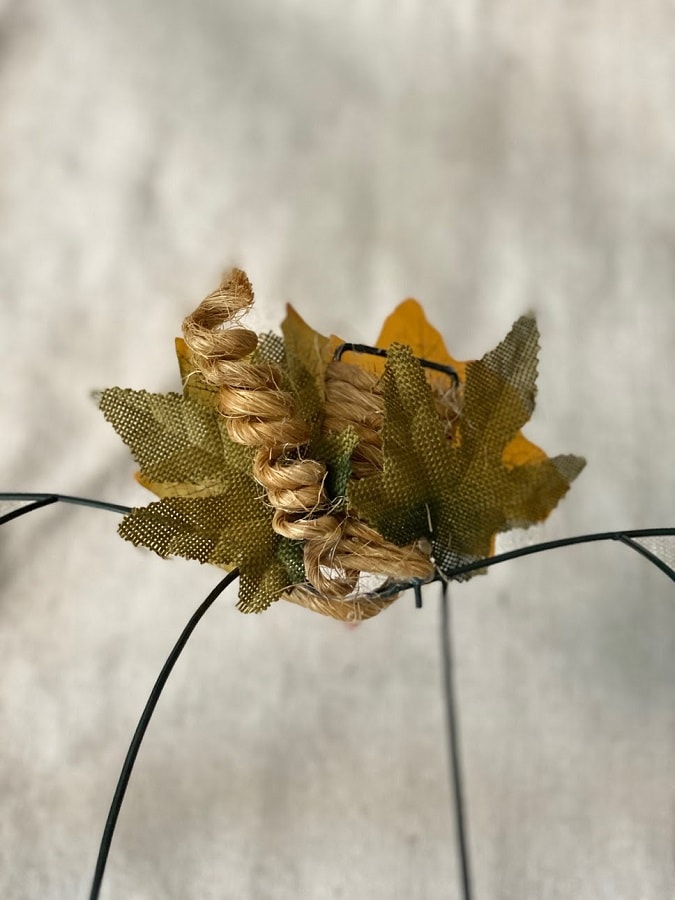
After wrapping the pen with the twine, I used diluted Elmer’s glue and painted the twine with it. Next I put the pen with the twine where it wouldn’t stick to anything. It needed to completely dry before I could apply it.
I actually did this a couple of days ahead of time.
Yep, you guessed it…no pictures. That is how I made the curly cue, but I do have a few others. I will finish “glamming” it after we assemble it.
Halloween DIY Dollar Tree Pumpkin Pickin’ Version 1:
Trick-or-Treat Tabletop Dispenser Assembly
[Before I dive in and assemble version 1 of this DIY Pumpkin Pickin’ Trick or Treat I want to state that it will be attached to the wood. There are going to be different places that will have to be drilled in wood for the frames for it to be secured for each version of the project.]
I did go ahead and lay the frame down and mark it on my wood for version 2 – – – YES, I should have done it on the back… (Lesson still has not been learned.)
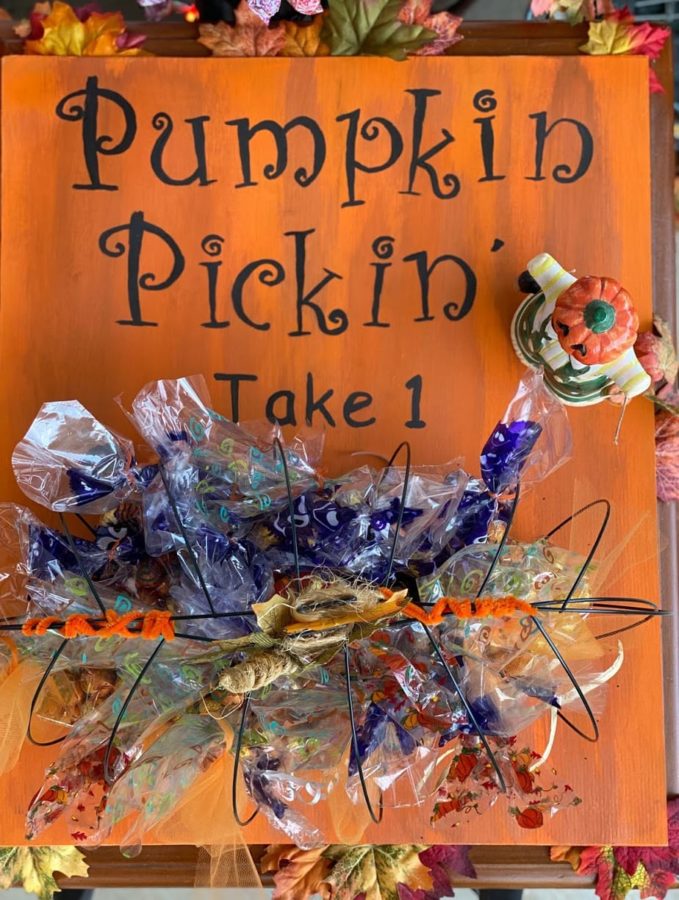
Standing the two wire pumpkins on my board in the place where I wanted them. I marked four spots, two for each pumpkin half where I would need to drill four holes.(Sounds really confusing, but was simple – video will help a lot!)
After drilling all 16 holes; I secured each of the wire pumpkin frames with chenille stems. I would use zip ties and have added more if I were leaving it set up like this for trick-or-treaters to pull candy from.
Now, the pumpkins needed to be bound together. I used and orange chenille stem on each side for this – UGLY!!! Don’t use orange, unless you sprayed your wire frames orange, then it would be okay.
Had I been leaving the pumpkins like this, as a table top display, I would have used my twine to have bound them together. The chenille stems would not have been used. It would have matched the the stem, then.
Halloween DIY Dollar Tree Pumpkin Pickin’ Version 2:
Trick-or-Treat Door Dispenser Assembly
Holes marked & drilled all around the Dollar Tree Pumpkin frame. I decide to use the twine rope to run it through the holes, kinda lacing it onto the wood. I tied at the top to secure it.
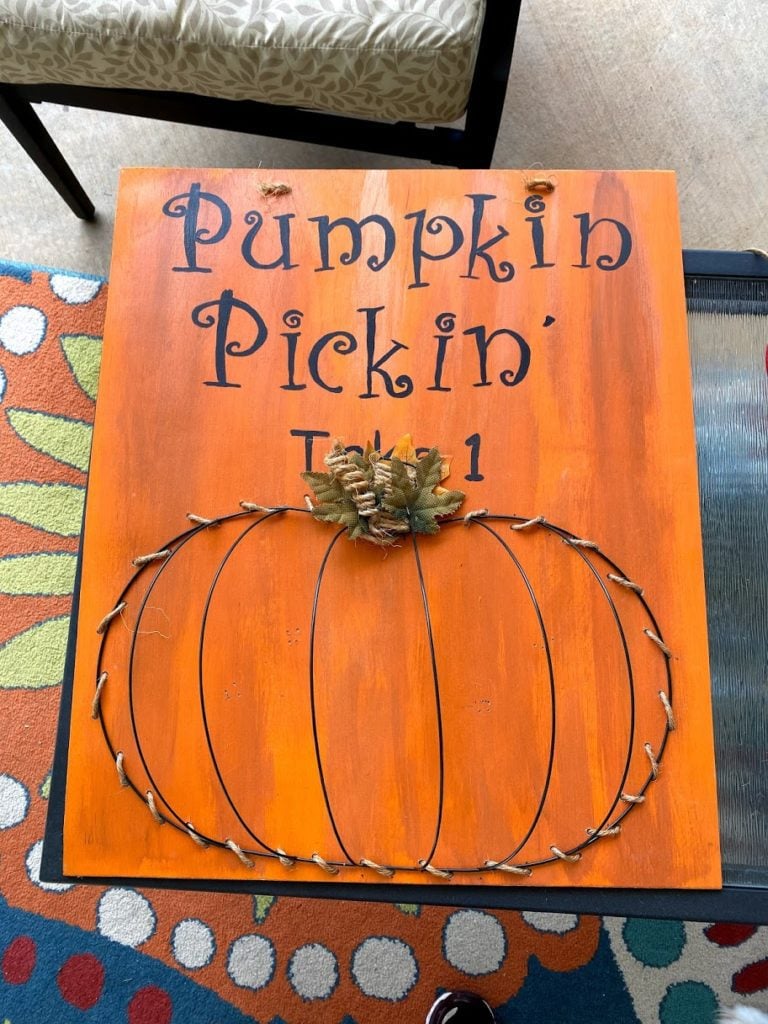
After lacing the frame, now it’s time to decide how to hang it, since I want version 2 to be a door hanging “Pumpkin Pickin” display that will safely social distance while delivering treats to the trick or treaters.
How Does Your “Pumpkin Pickin” Hang?
Although there are several ways that we could hang it:
- Ribbon Glued to the Back
- A Hole Cut to Slip on a Hook
- A Command Hook on the Back
- Drill Holes and Use Rope Twine
This project was screaming to keep it simple, to me. You however might want fancy ribbon. Yep, you guessed it I bet!
Using the drill I made two holes on each side at the top. Laced the rope through and tied in a knot to slip over a nail that stays in the door all the time. This is what I did for version #2 of this Pumpkin Pickin’ social distance for safety Trick or Treating project.
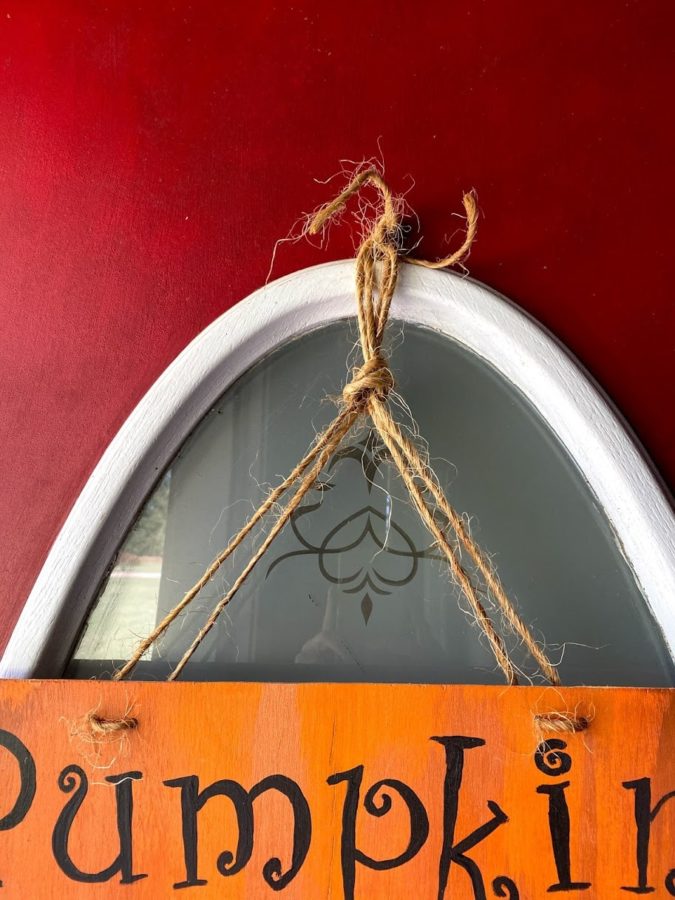
If you use this method, but don’t want to use an over the door wreath hanger hook, you could use a command hook on the door. Just make sure it’s all secure enough to survive the children picking treats from the pumpkins’ tummy.
Now It’s Time to Stuff the Pumpkin!
The stuffing method of choice for this Pumpkin Pickin’ project is using the small Dollar Tree treat bags. You can put whatever type of candy or treat you choose in them (version #1 or #2). You can put items other than “sweets” in the bags.
Here are a few suggestions:
- Stickers
- Pencils
- Raisin Boxes
- Lunch Box Packets – Crackers, Cookies, Rice Krispie Treats
- And so many more…
I just would not use anything that would have a lot of weight or purpose a size issue.
Some of the above mentioned items might not even require being put into treat bags. They are packaged well enough to stay in the pumpkins on their own.
What Other Ways Are There to Have a Safe Halloween for Social Distancing?
I have spent a little time this year thinking about this, social distance for Halloween 2020. What’s the alternative? Cancel Halloween 2020? Not a good idea in my opinion, especially since so much has been taken away or at least severely restricted this year already.
So, here are a few of those DIY projects that might just give you a chance to have a little normal. Perhaps they might just be a springboard to get your own creative juices flowing.
Adult Treats to Prepare for the Haunting Hours
OK this is no trick, you are going to want a few treats white you are waiting on those cute little costumed up kiddos. The things that I have in mind are a couple of complimentary dips. Maybe a ghoulish cocktail of the Perfect Party Punch. How about a sweet “boozy” gelatin treat or two???
I am feeling that something a little spicy might just be what all this sweet stuff will need to offset the sugar fix that’s about to happen.
Ready, Set, Time to Pick!
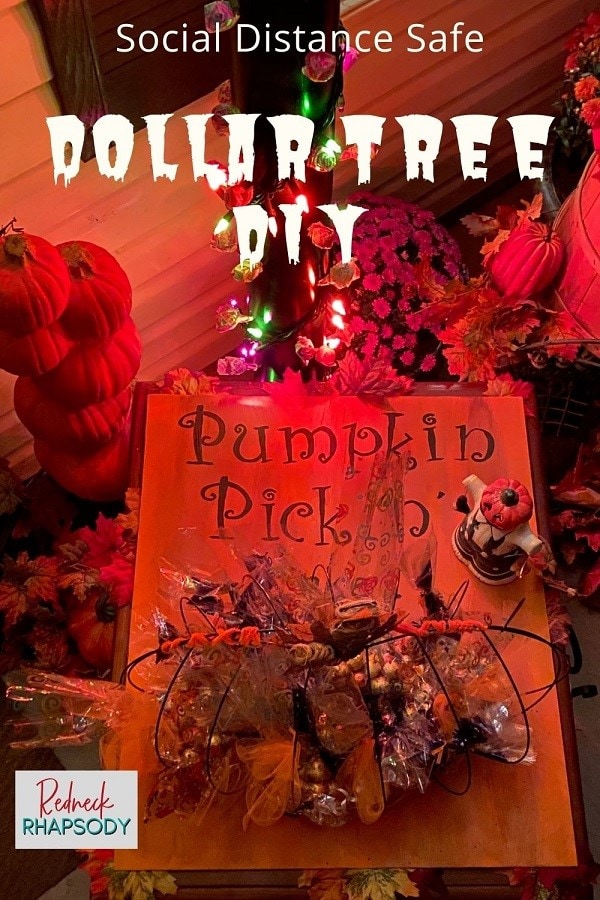
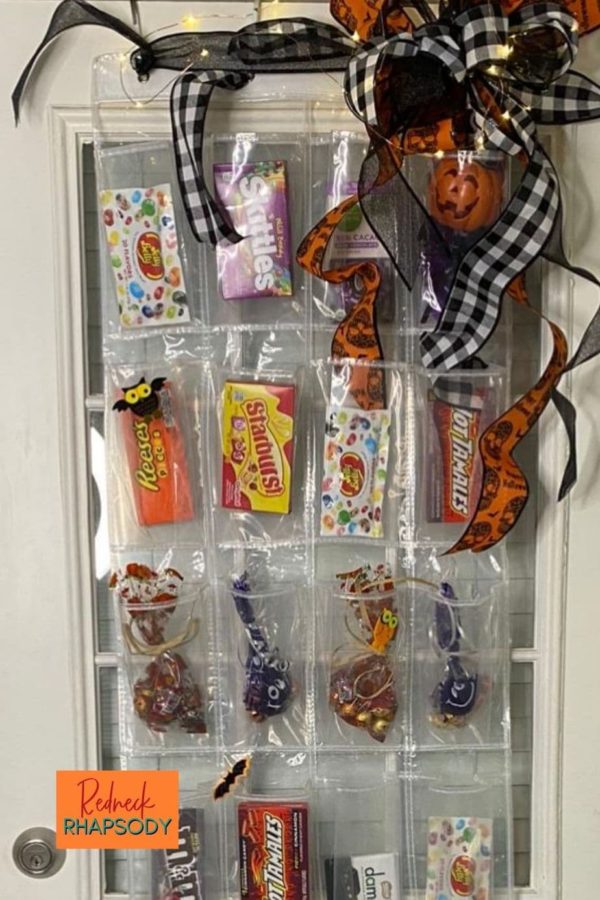
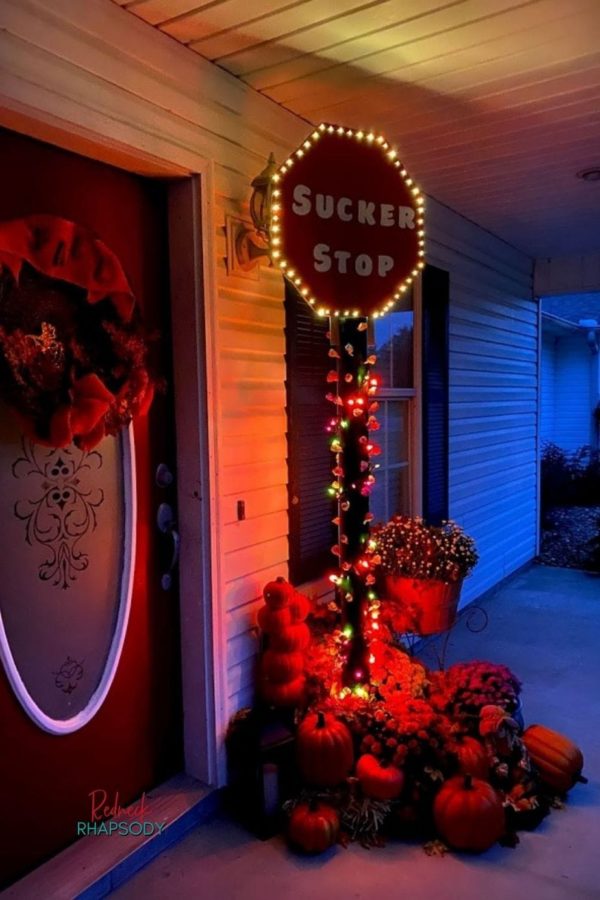
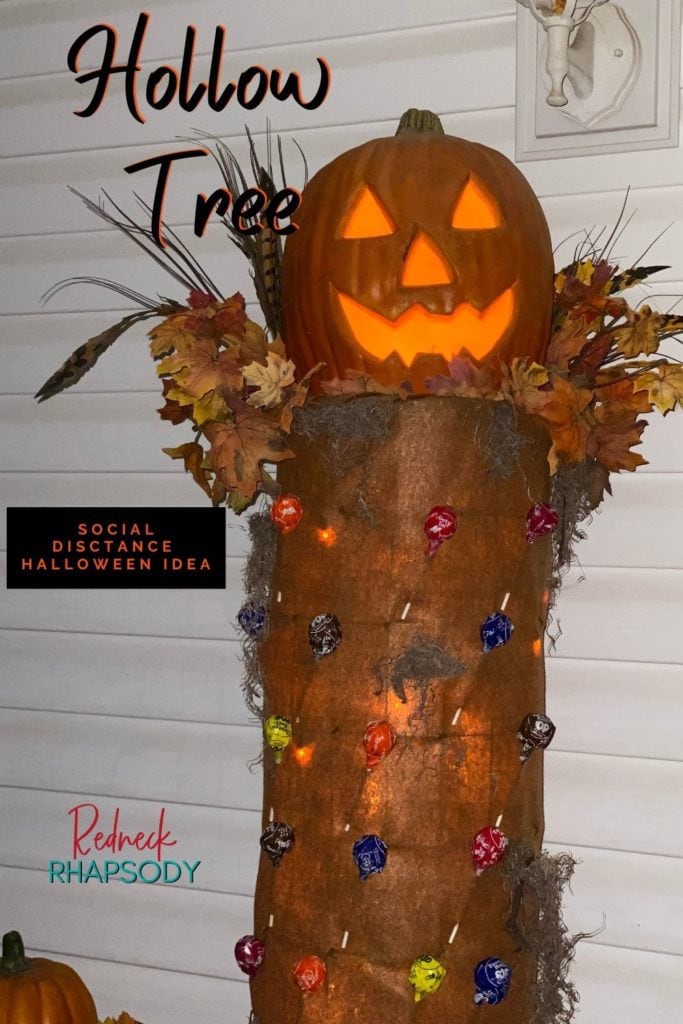
Your trick-or-treating crew will be excited to see this pumpkin just waiting for a pickin’! All that is left to do is decide which one version will work best for you!




This is SOOO clever!!! I think this is exactly what we will do!
Glad it helps out!
I love Dollar tree! They have great stuff for inexpensive DIY! I’ll have to try these ideas! 🙂